DIY Pleated Lampshade
I have a modern farmhouse style chandelier in my formal dining room. The chandelier is only about 4 years old, so I don’t want to just throw it out. It’s not terrible, it’s just not 100% my style. I believe in reusing things as much as you can, not only to save money but also to just be more sustainable.
Here’s what I did to update/restyle my farmhouse chandelier.
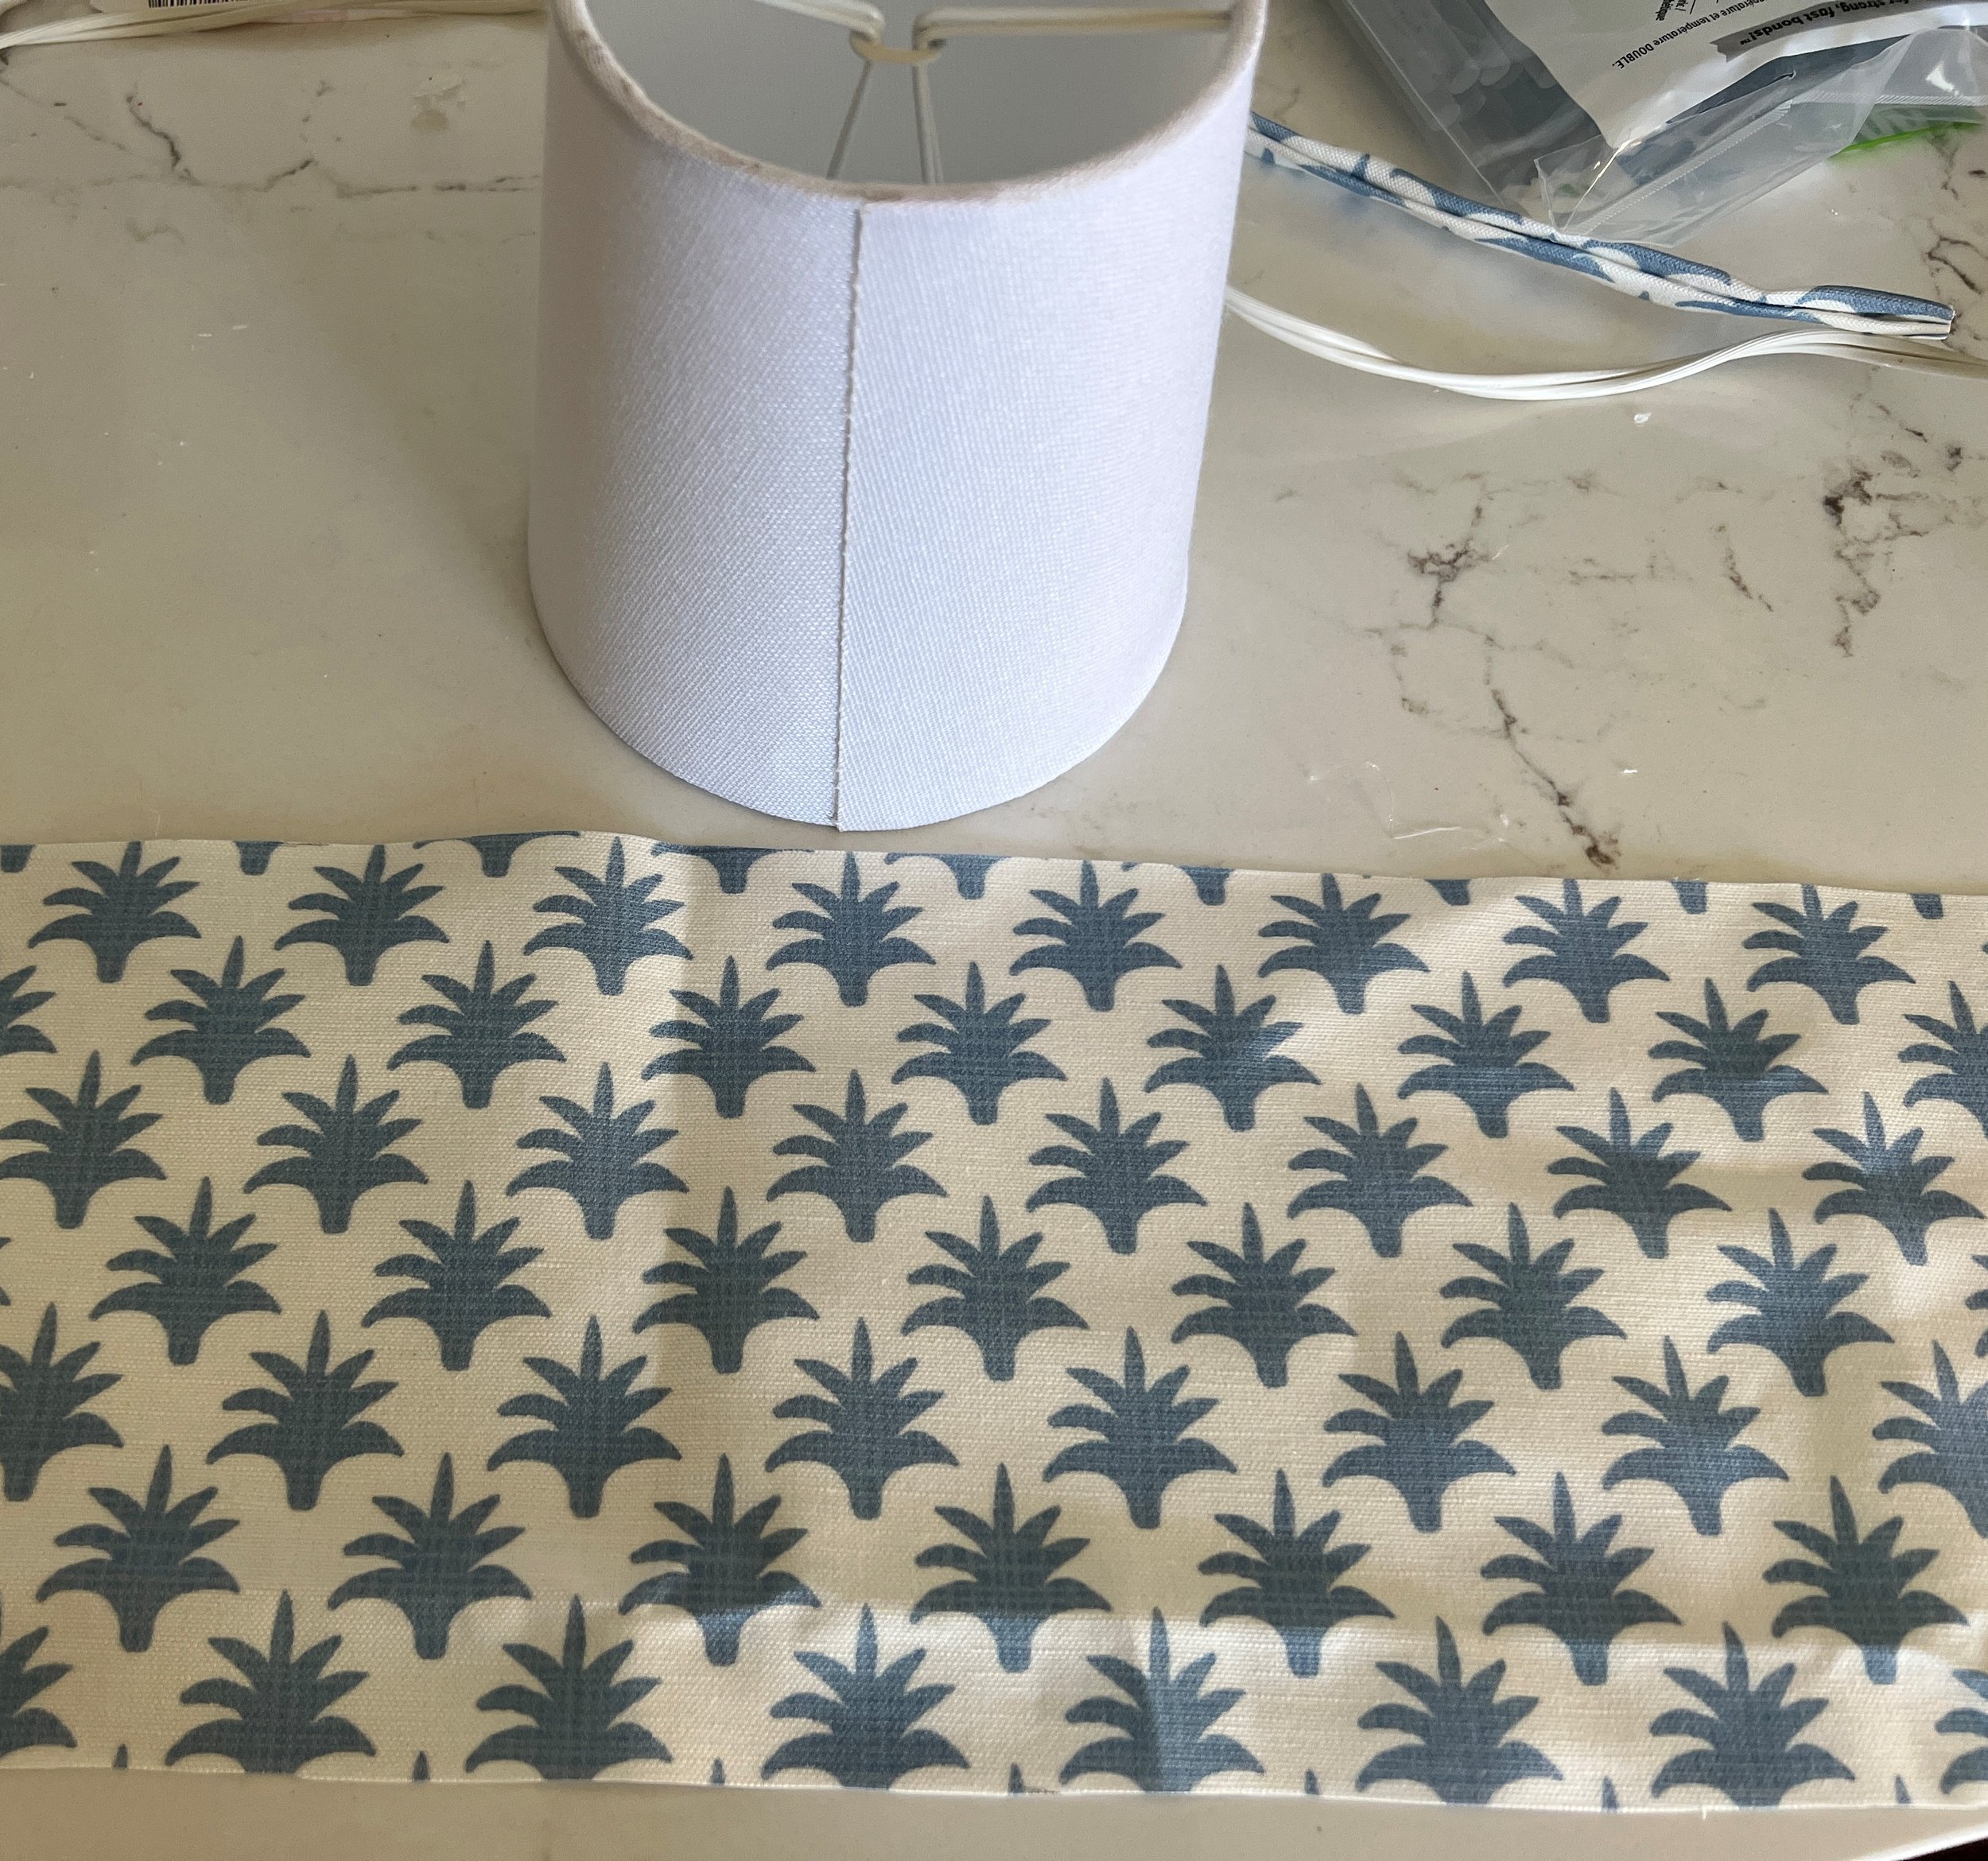
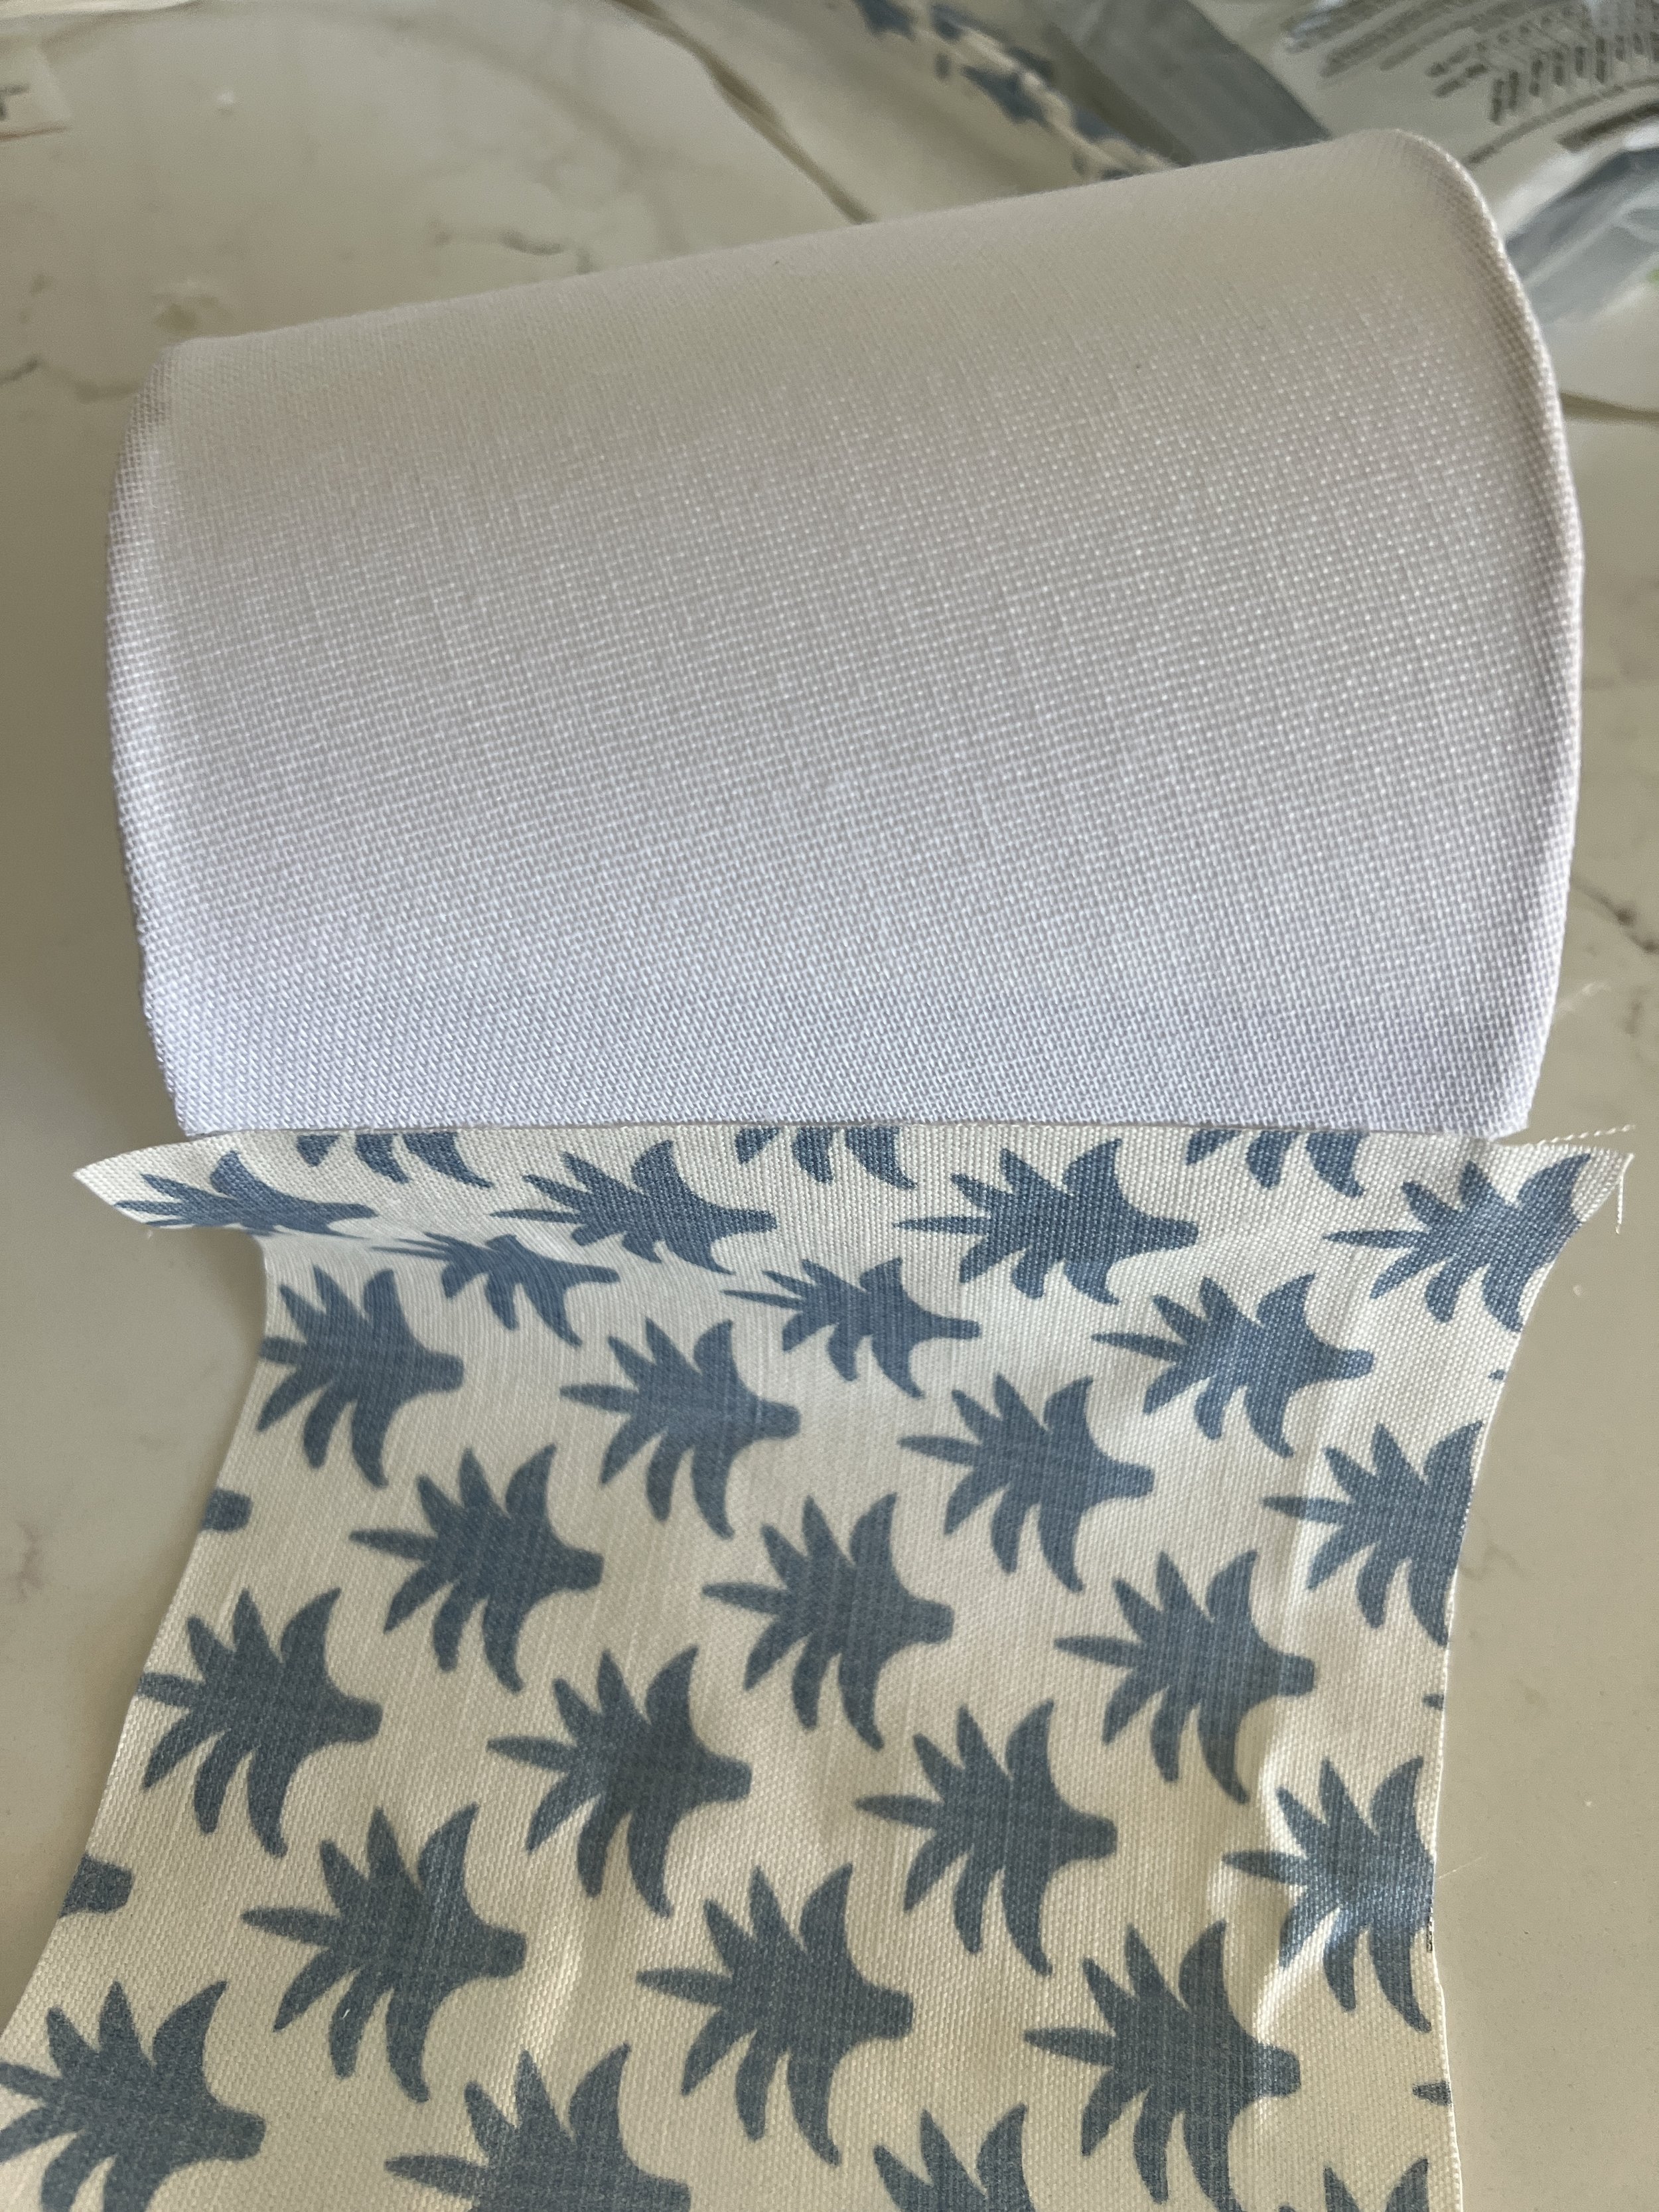
Have you heard of Spoonflower? It’s a great resource for fabrics. There are so many to choose from and come in a variety of materials. They also do wallpaper which is very good quality. They work with their own artists, so you won’t find super expensive, designer fabrics. The fabric is printed and not all are created equal. I used the cotton linen for this project. I love linen and in my mind I think it’s always the best, but it wasn’t for this project. It was a bit too stiff to work with, so I would recommend getting the signature petal cotton. It’s a bit more flexible, so will be easier when creating the pleats. After much deliberation I chose this print. I knew I wanted a white or light background and I chose blue to tie in with my rug in this room. I purchased this set of small chandelier shades from Amazon.
List of materials:
Hot glue/glue gun
scissors
paper clip
t-square
Tutorial:
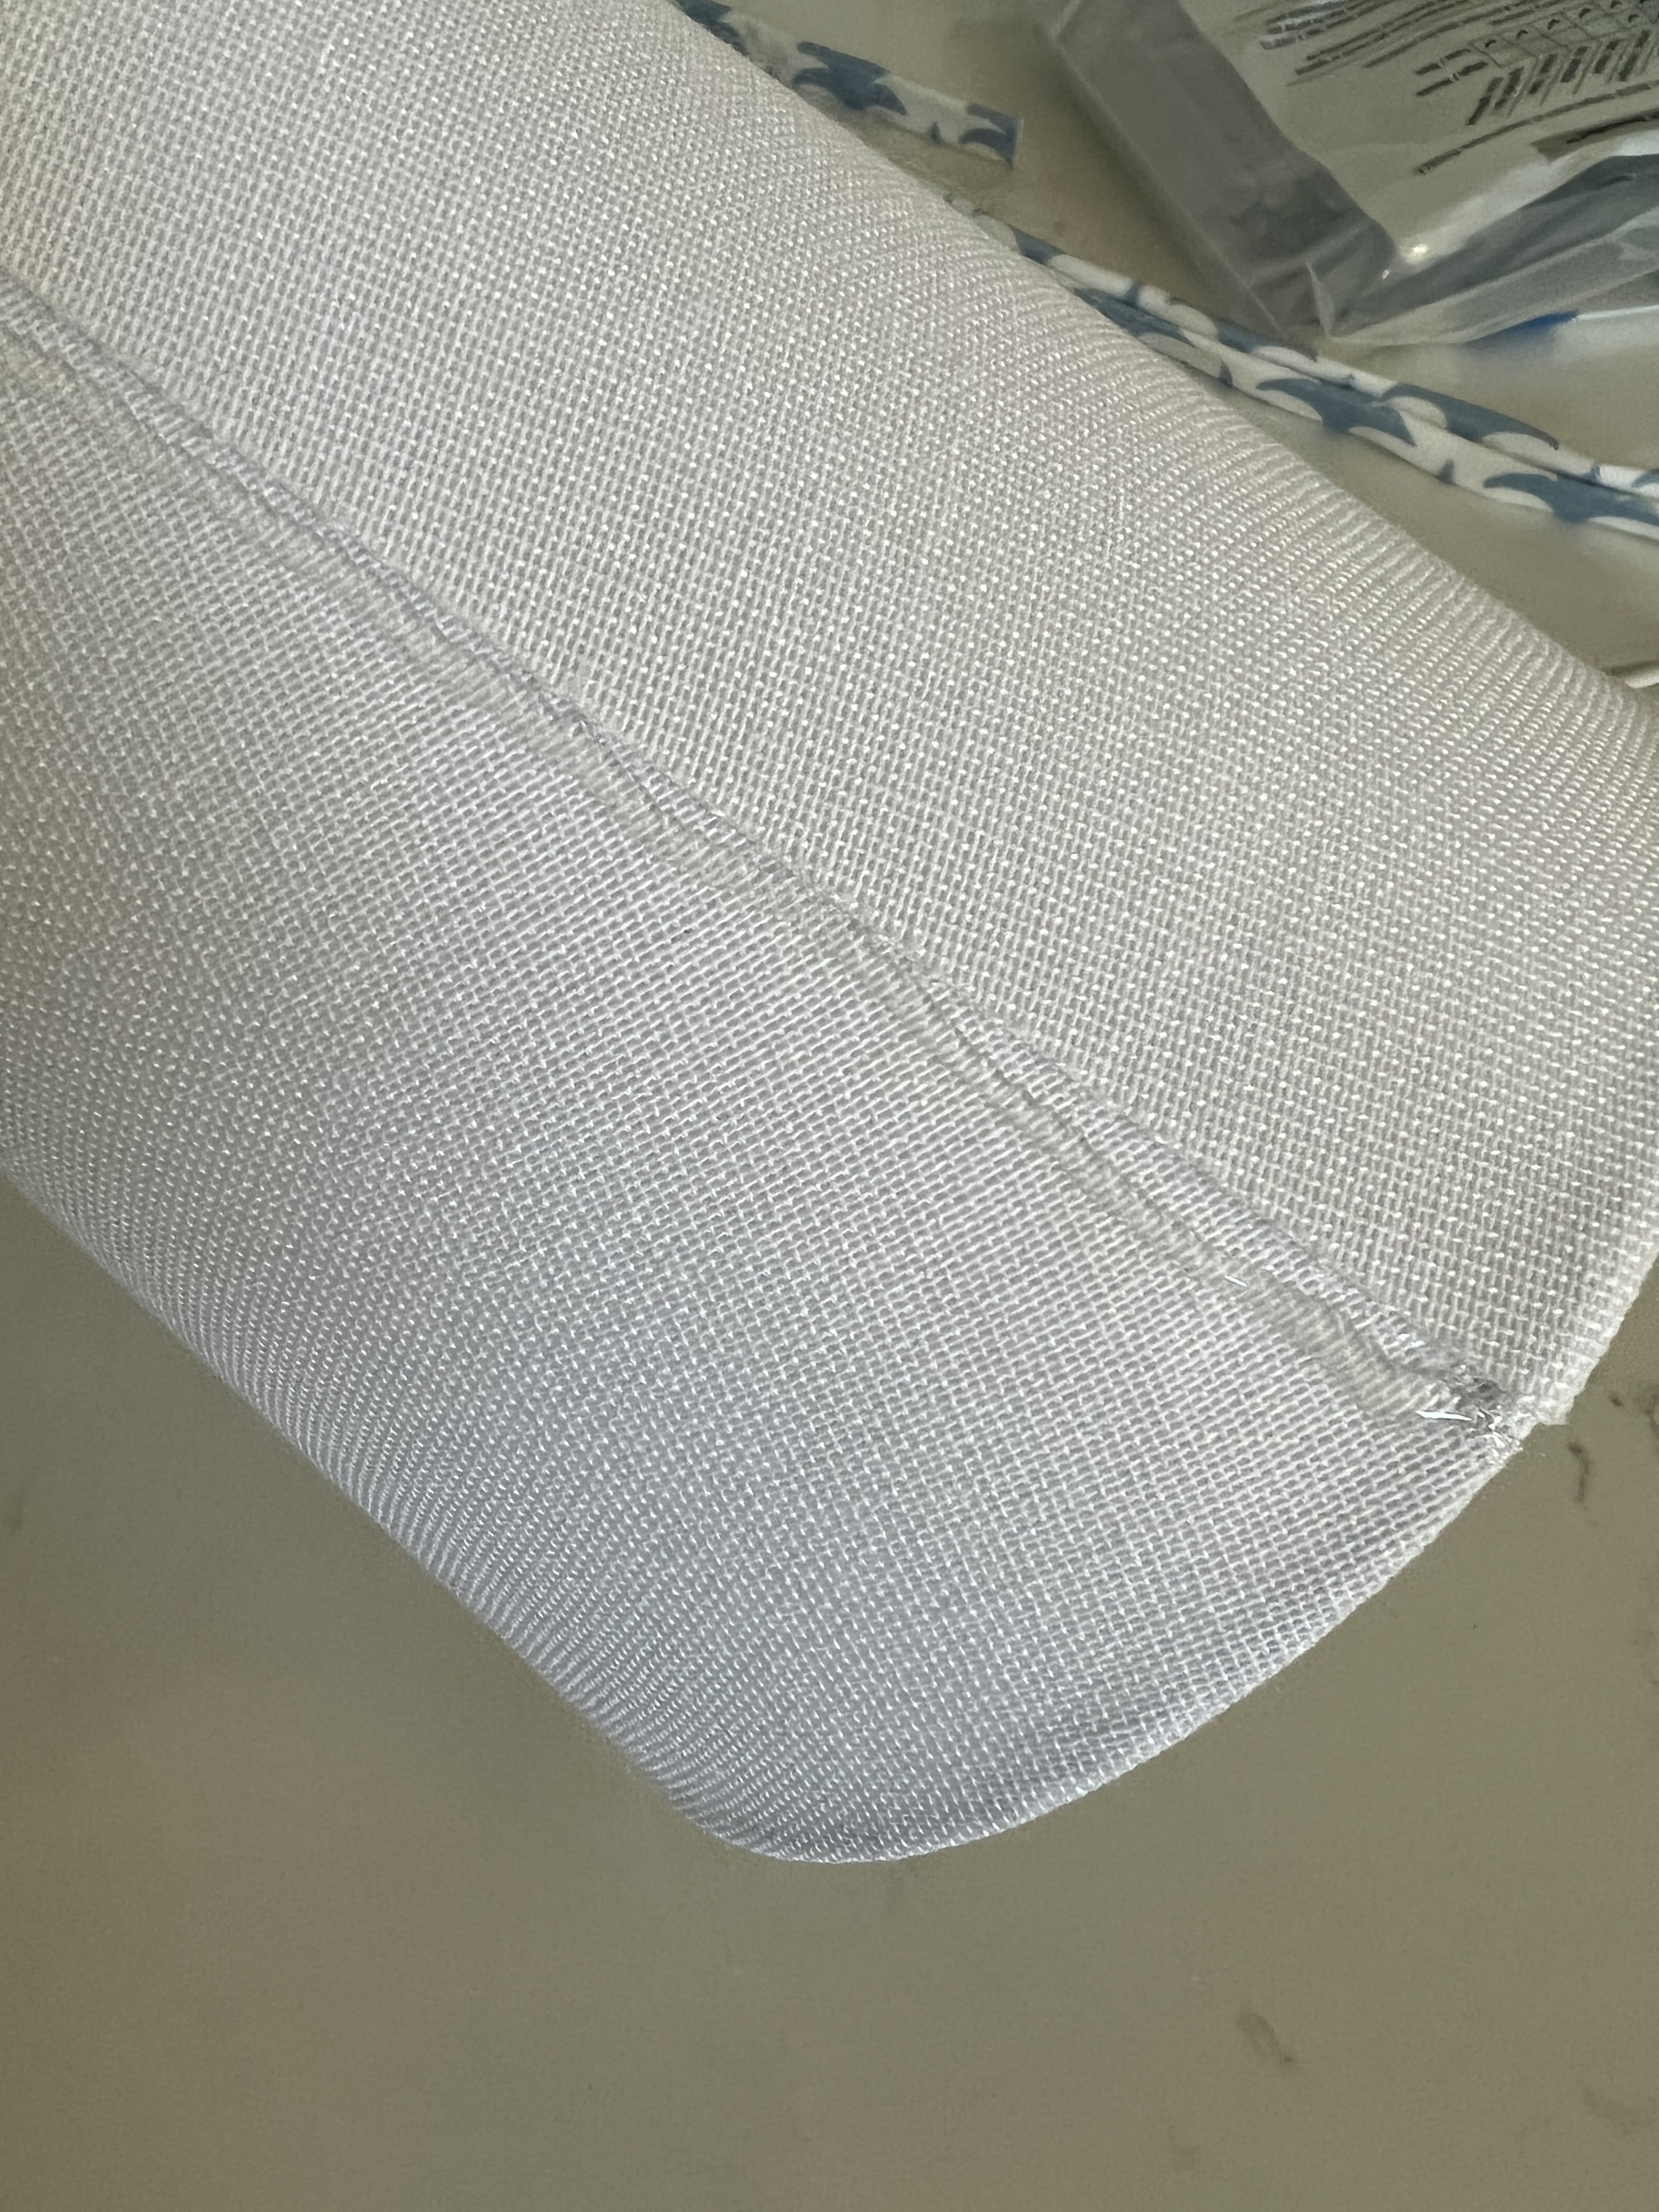
Measure (I eyeballed) the fabric about 1/2 inch longer on the top and bottom of the shade. Apply a thin bead of hot glue along existing seem of lamp shade, leaving about 1/2 inch at the top and bottom.
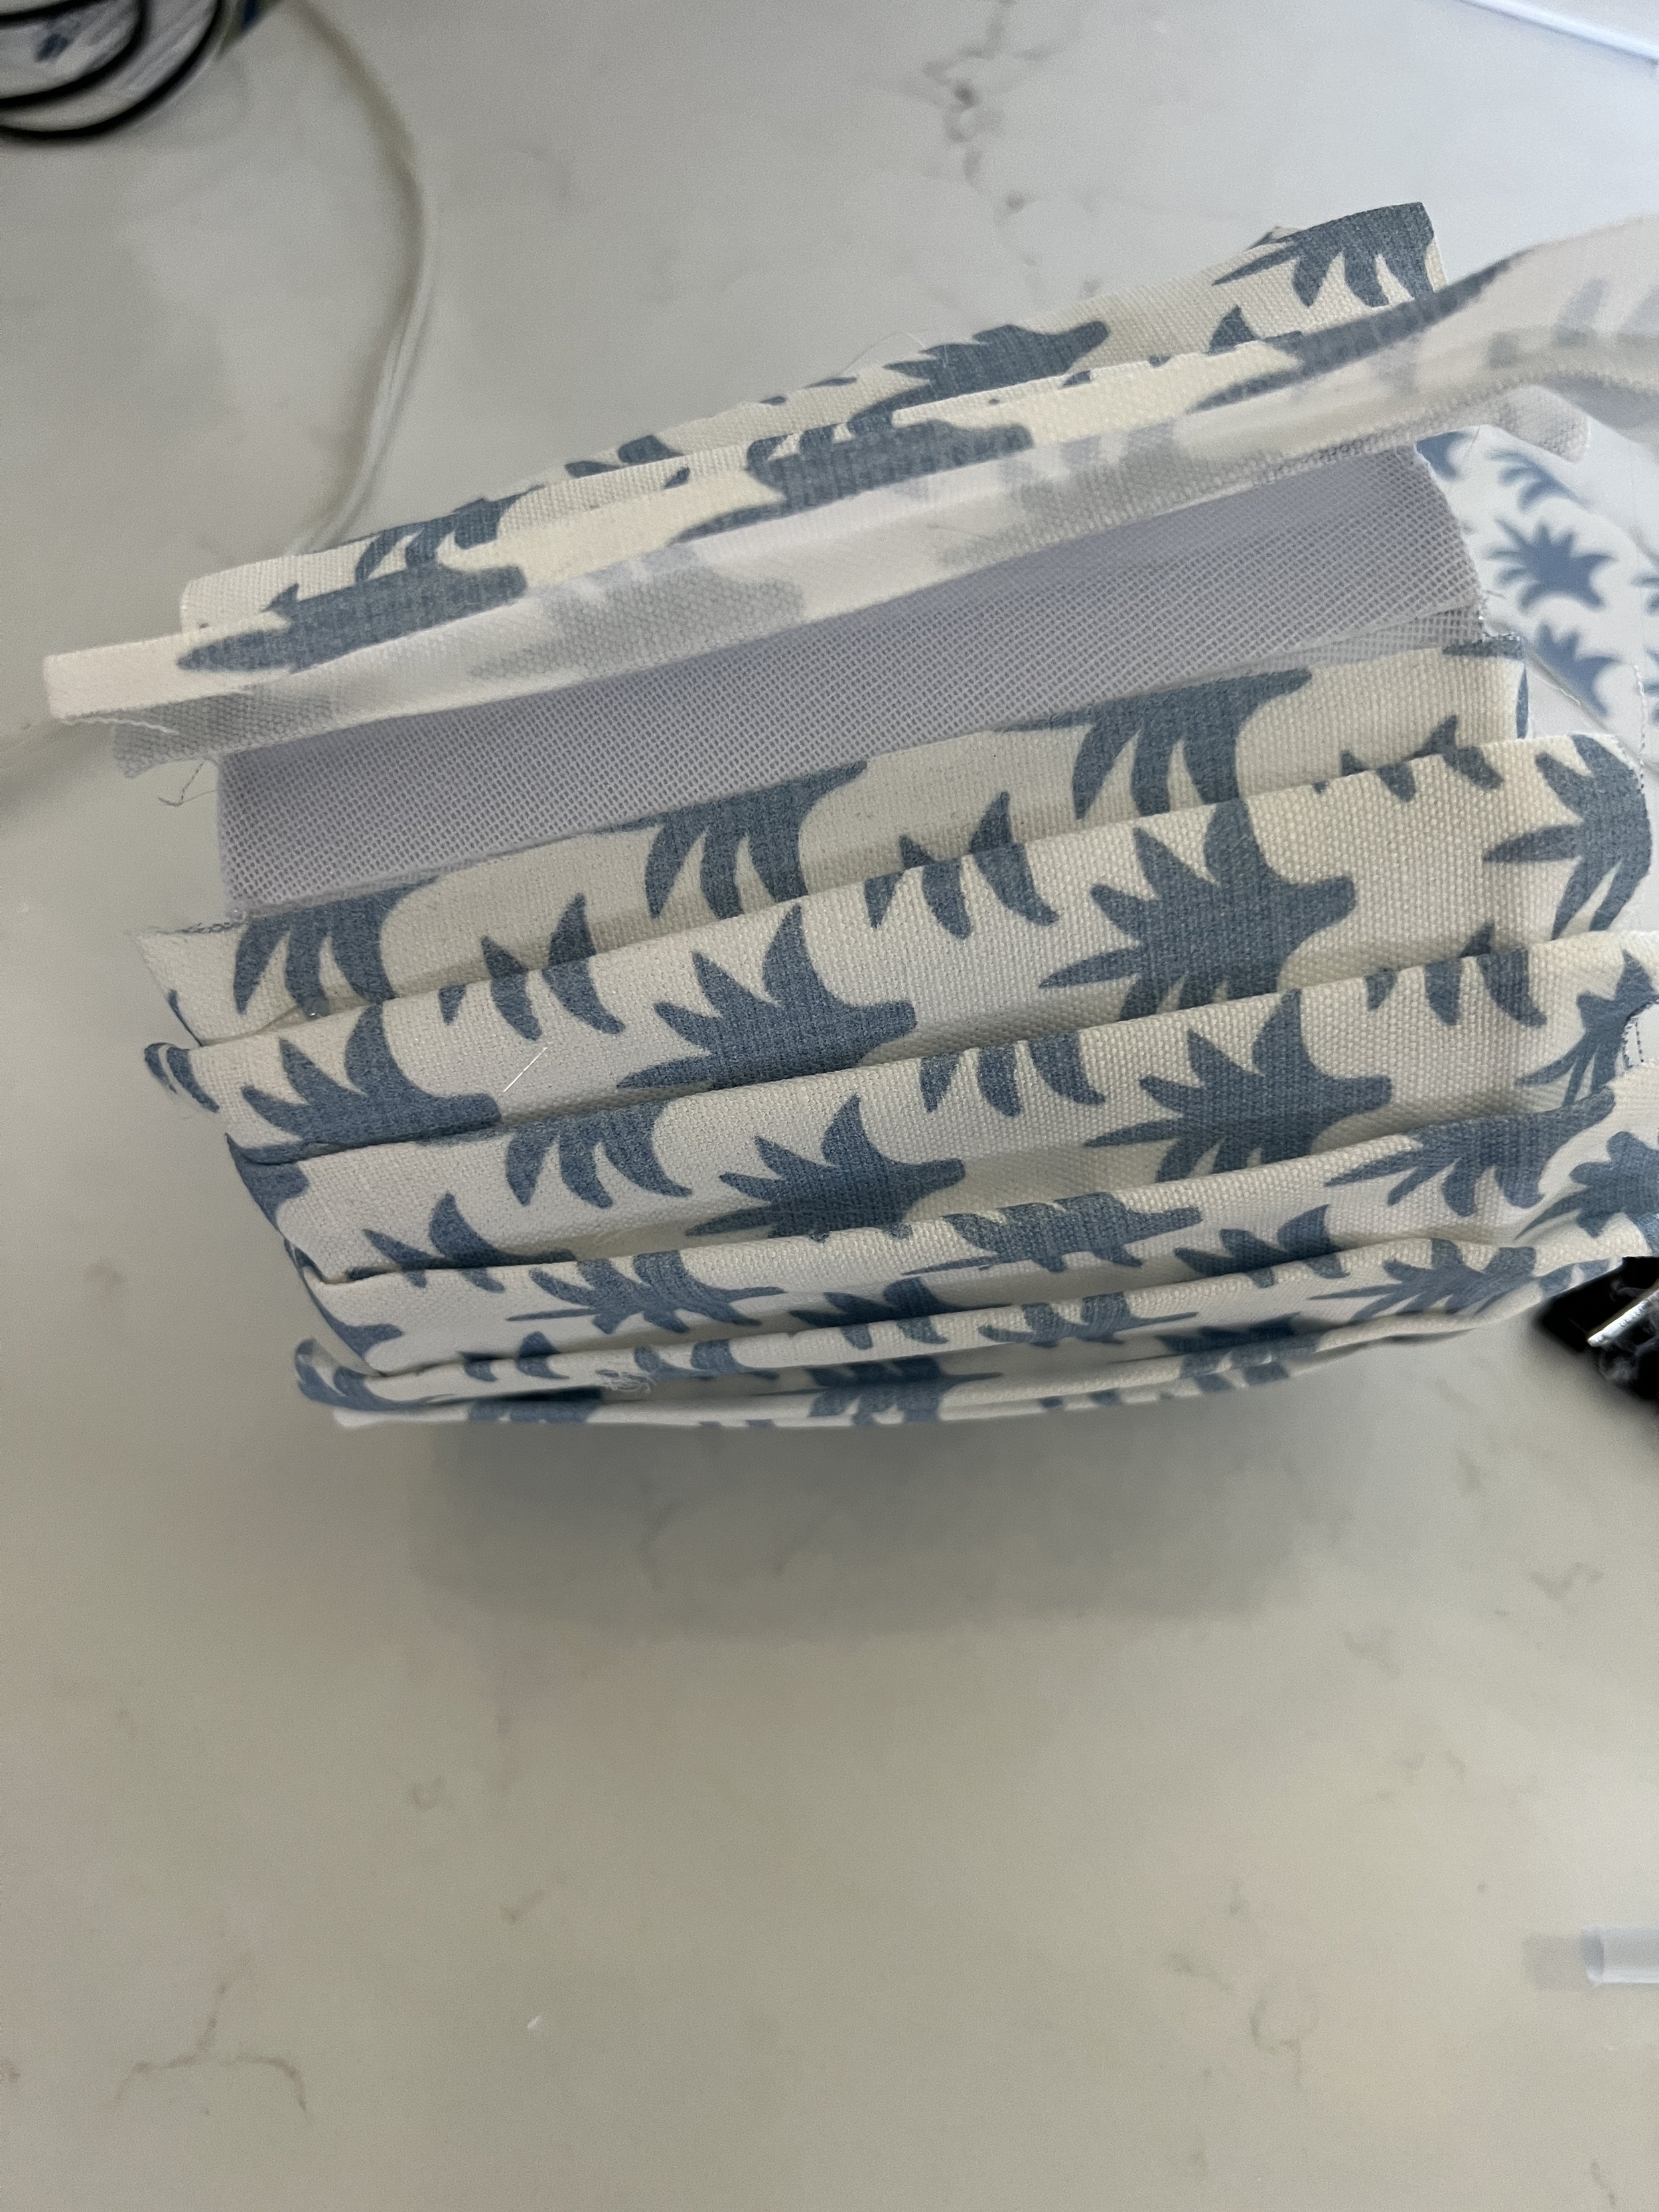
2. Begin the pleating by folding the fabric in 1/2 inch sections and gluing down after each fold. I made a video because it was easier to show. See video below.
3. Continue around the shade with the pleating, gluing down the fabric to the shade at the bottom and top every few pleats. Pay close attention to the amount of fabric you have hanging off the top and bottom if you’re using an empire shade (smaller circle on top than bottom) because it won’t be 100% even since you’re using more fabric on the bottom than the top. You may need to adjust your pleats along the way to account for this. Trust me, no one will notice if they’re uneven in the end. This is not a precise process.
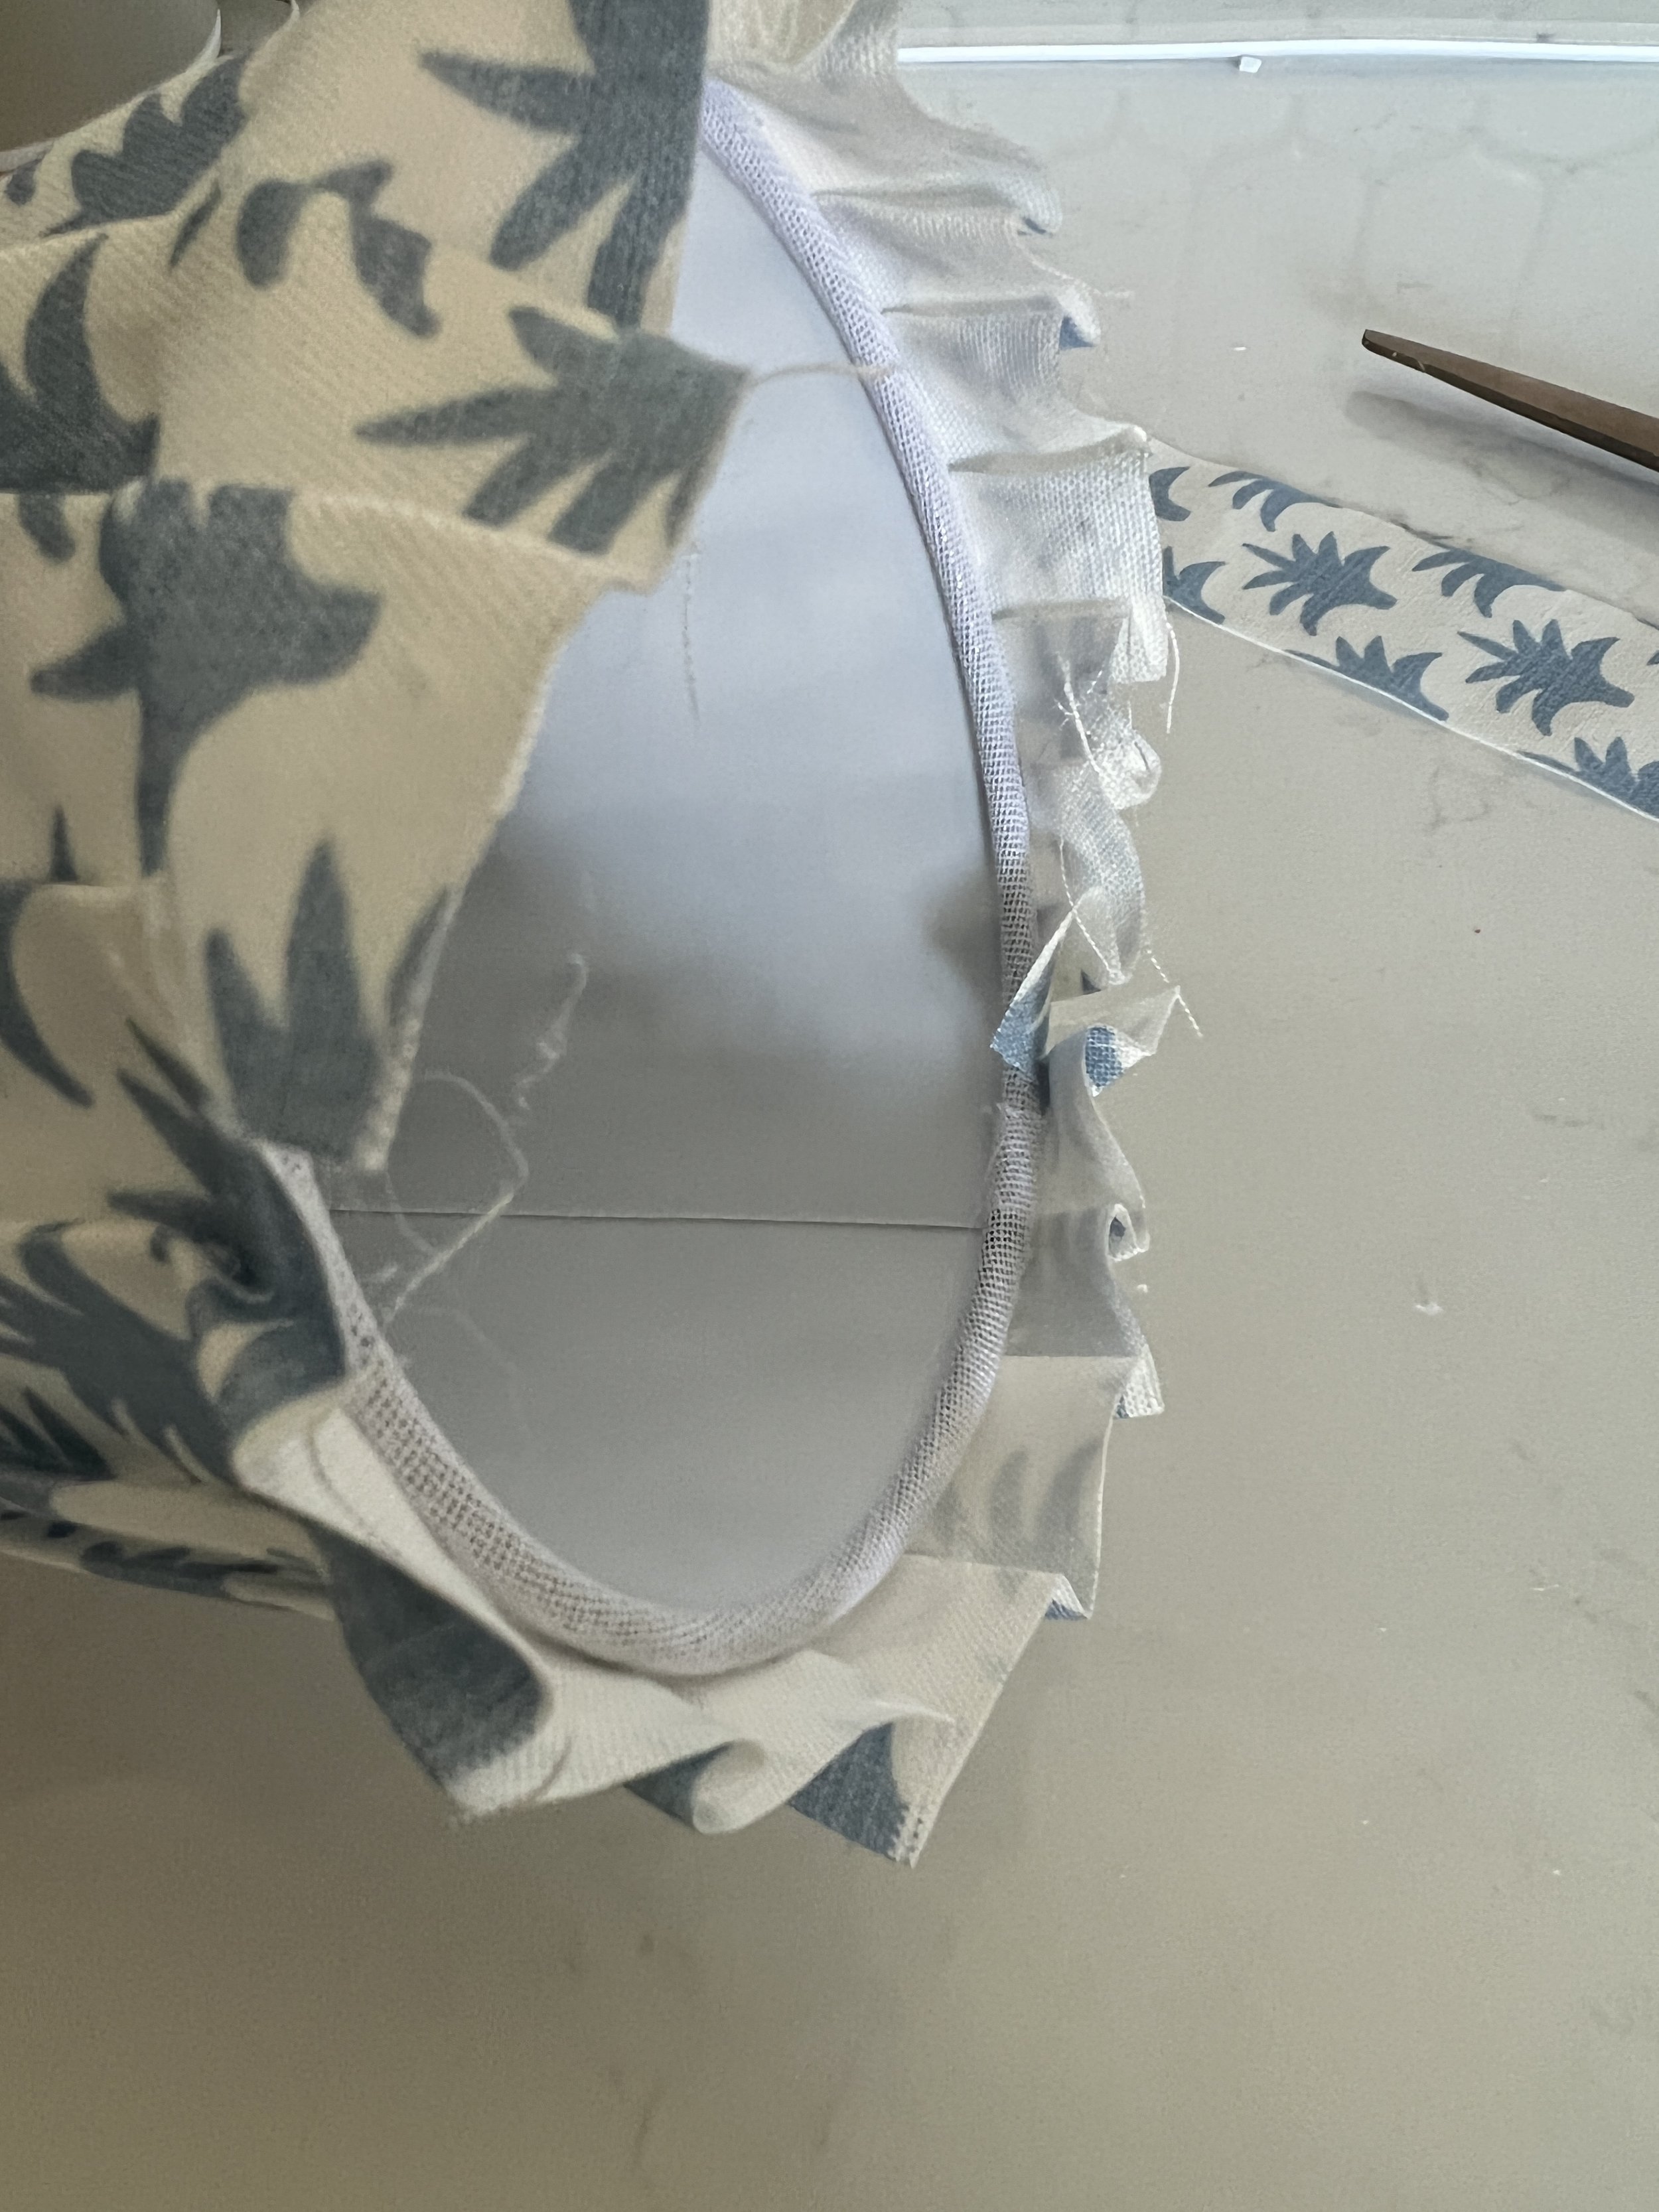
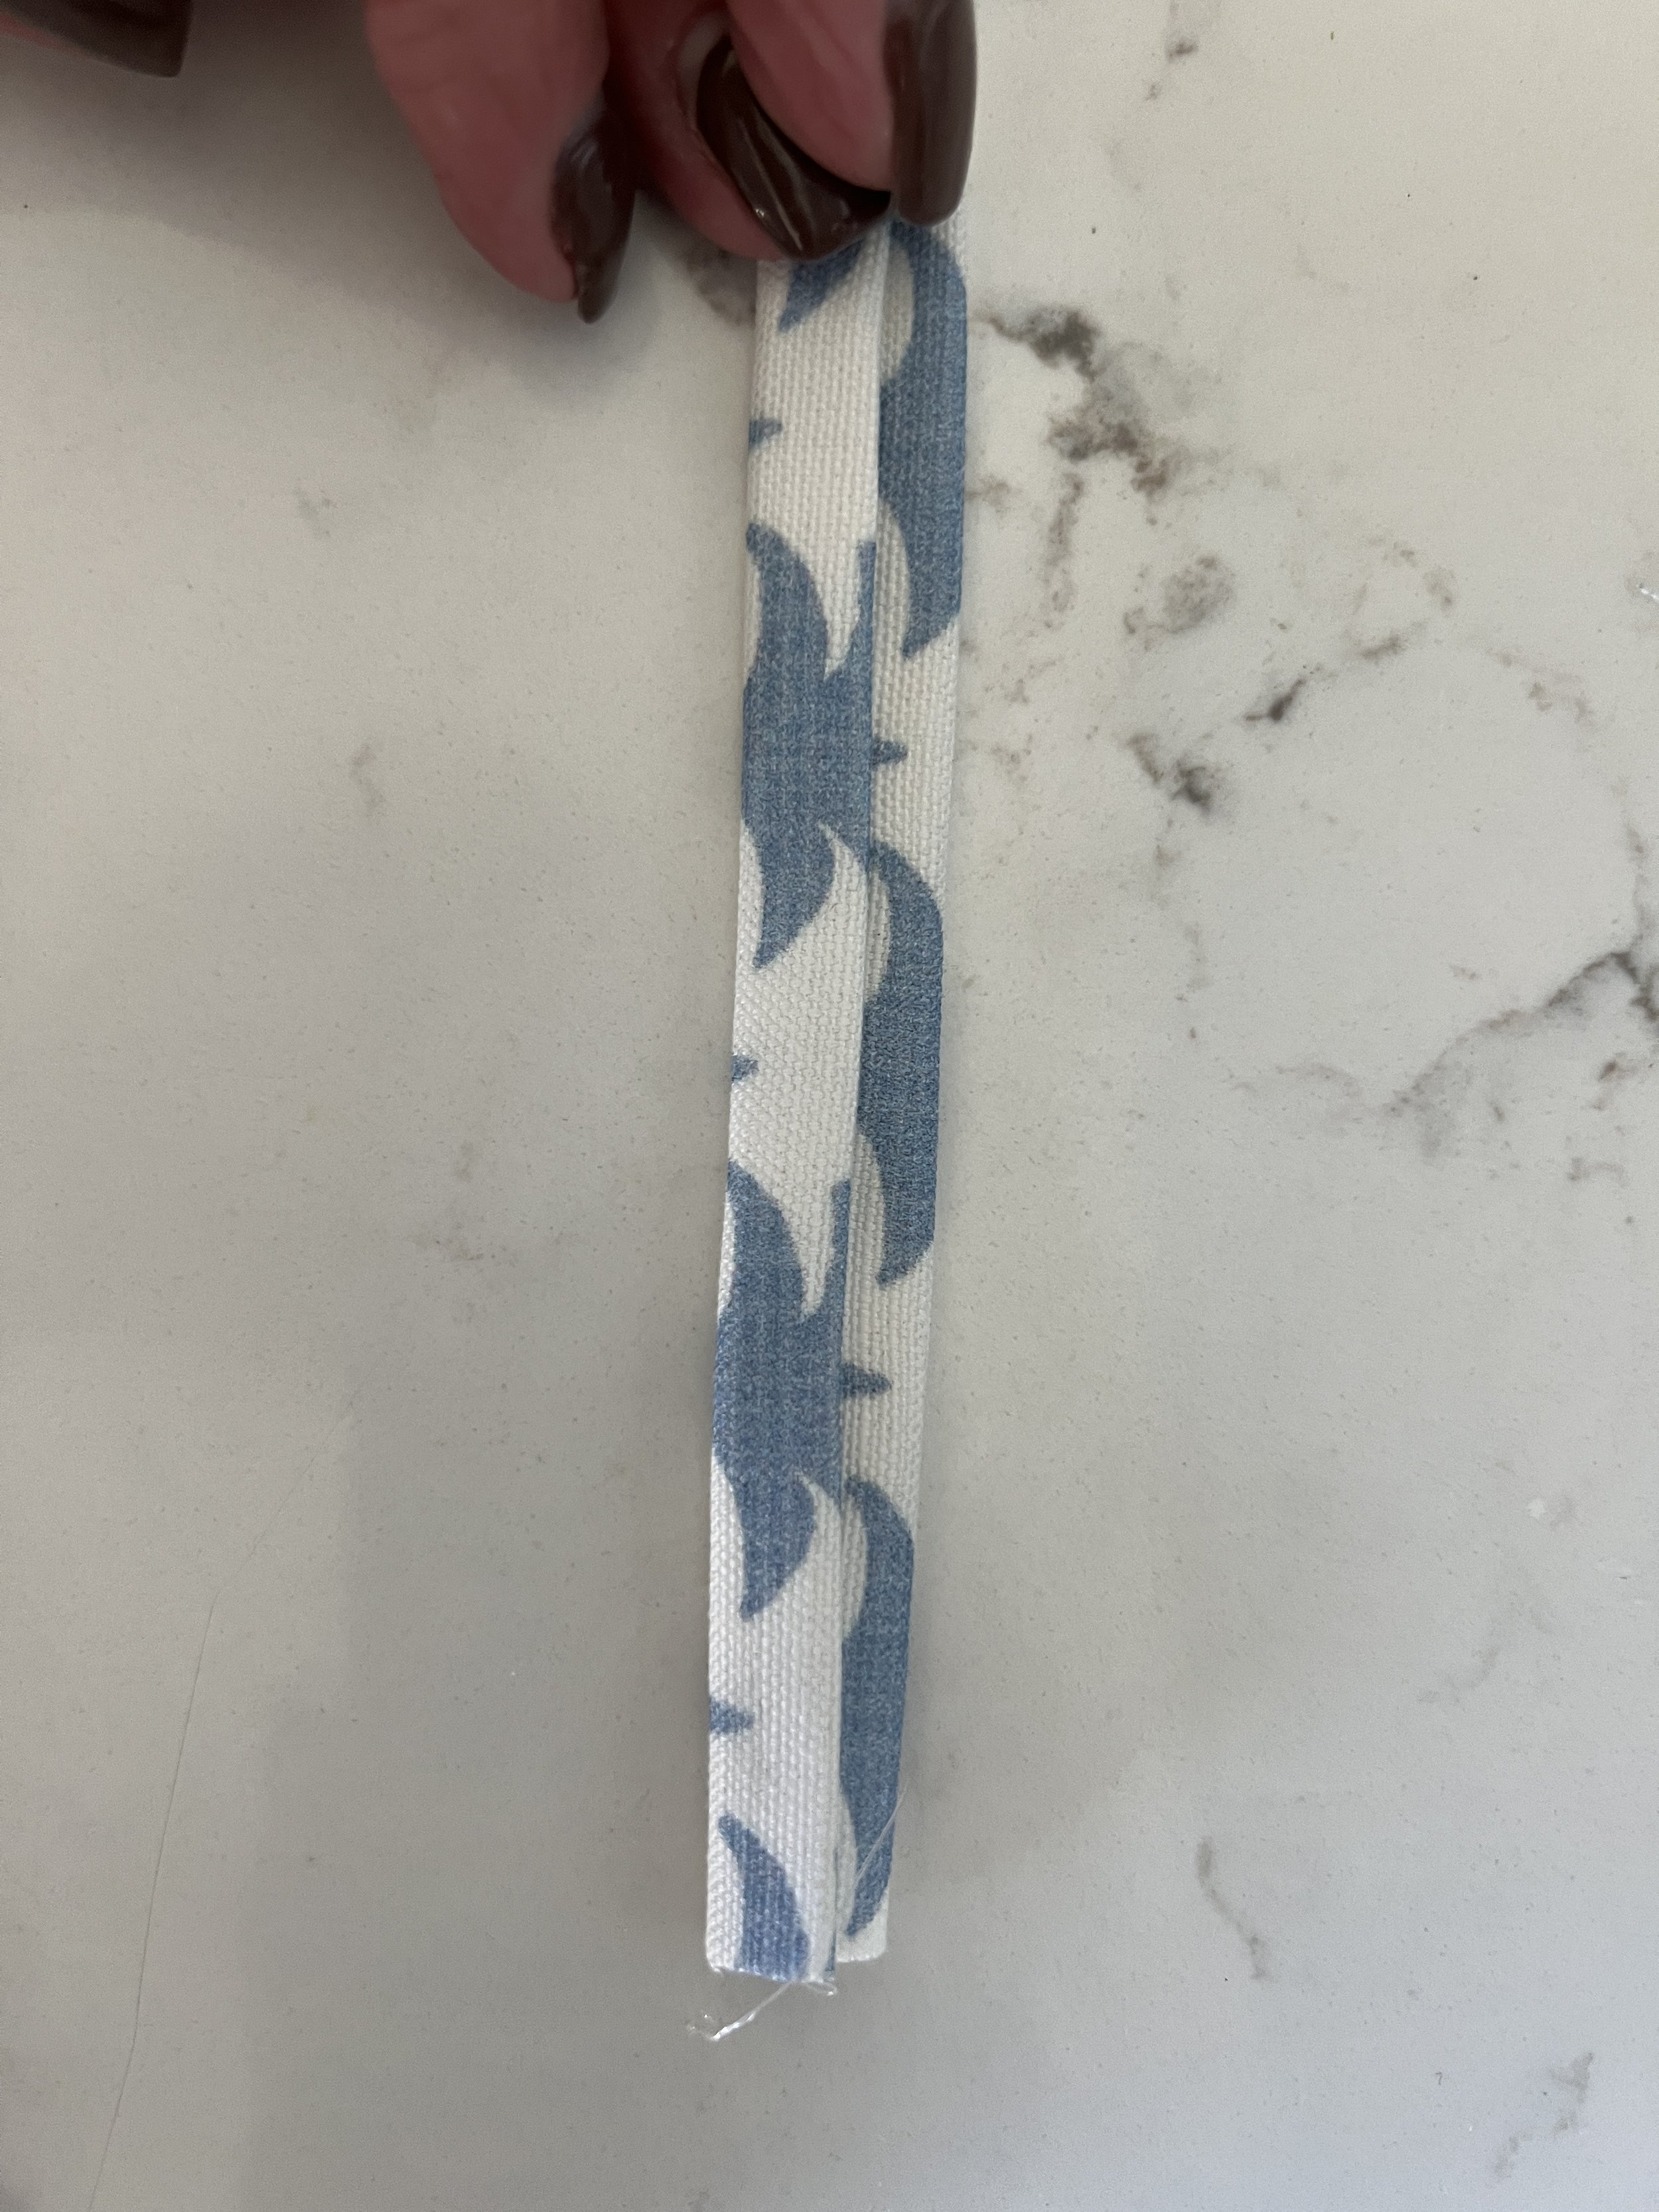
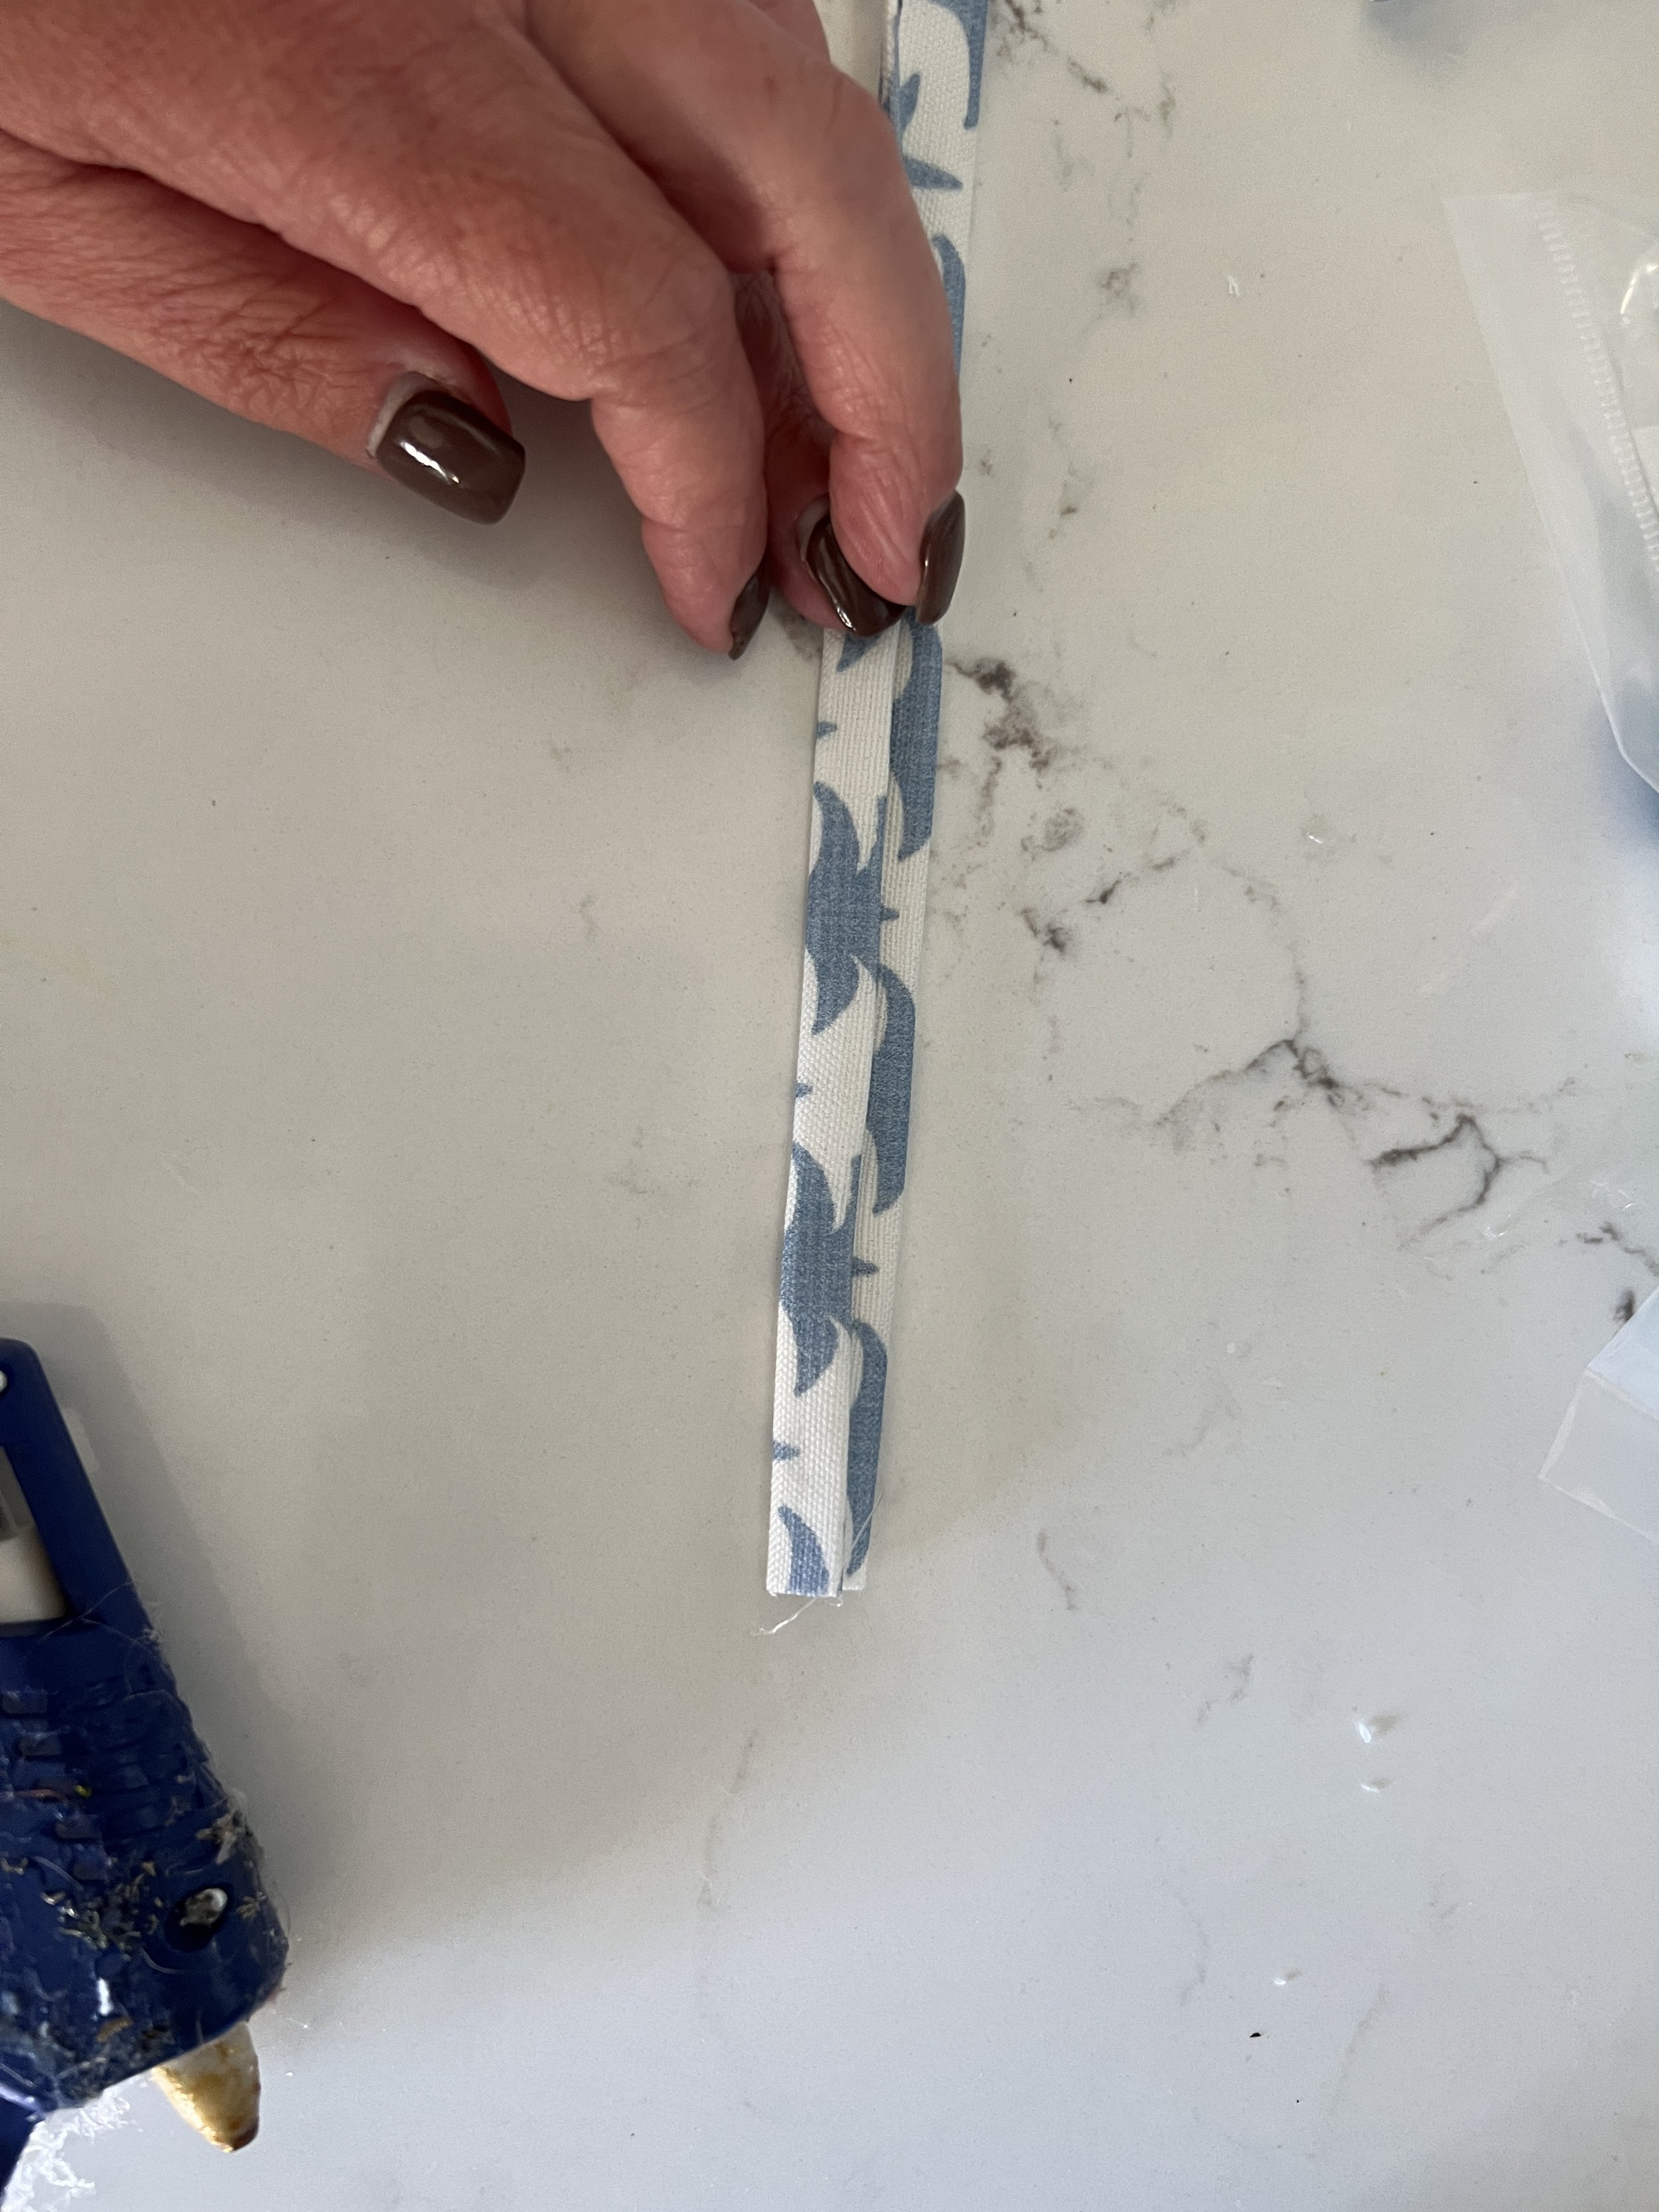
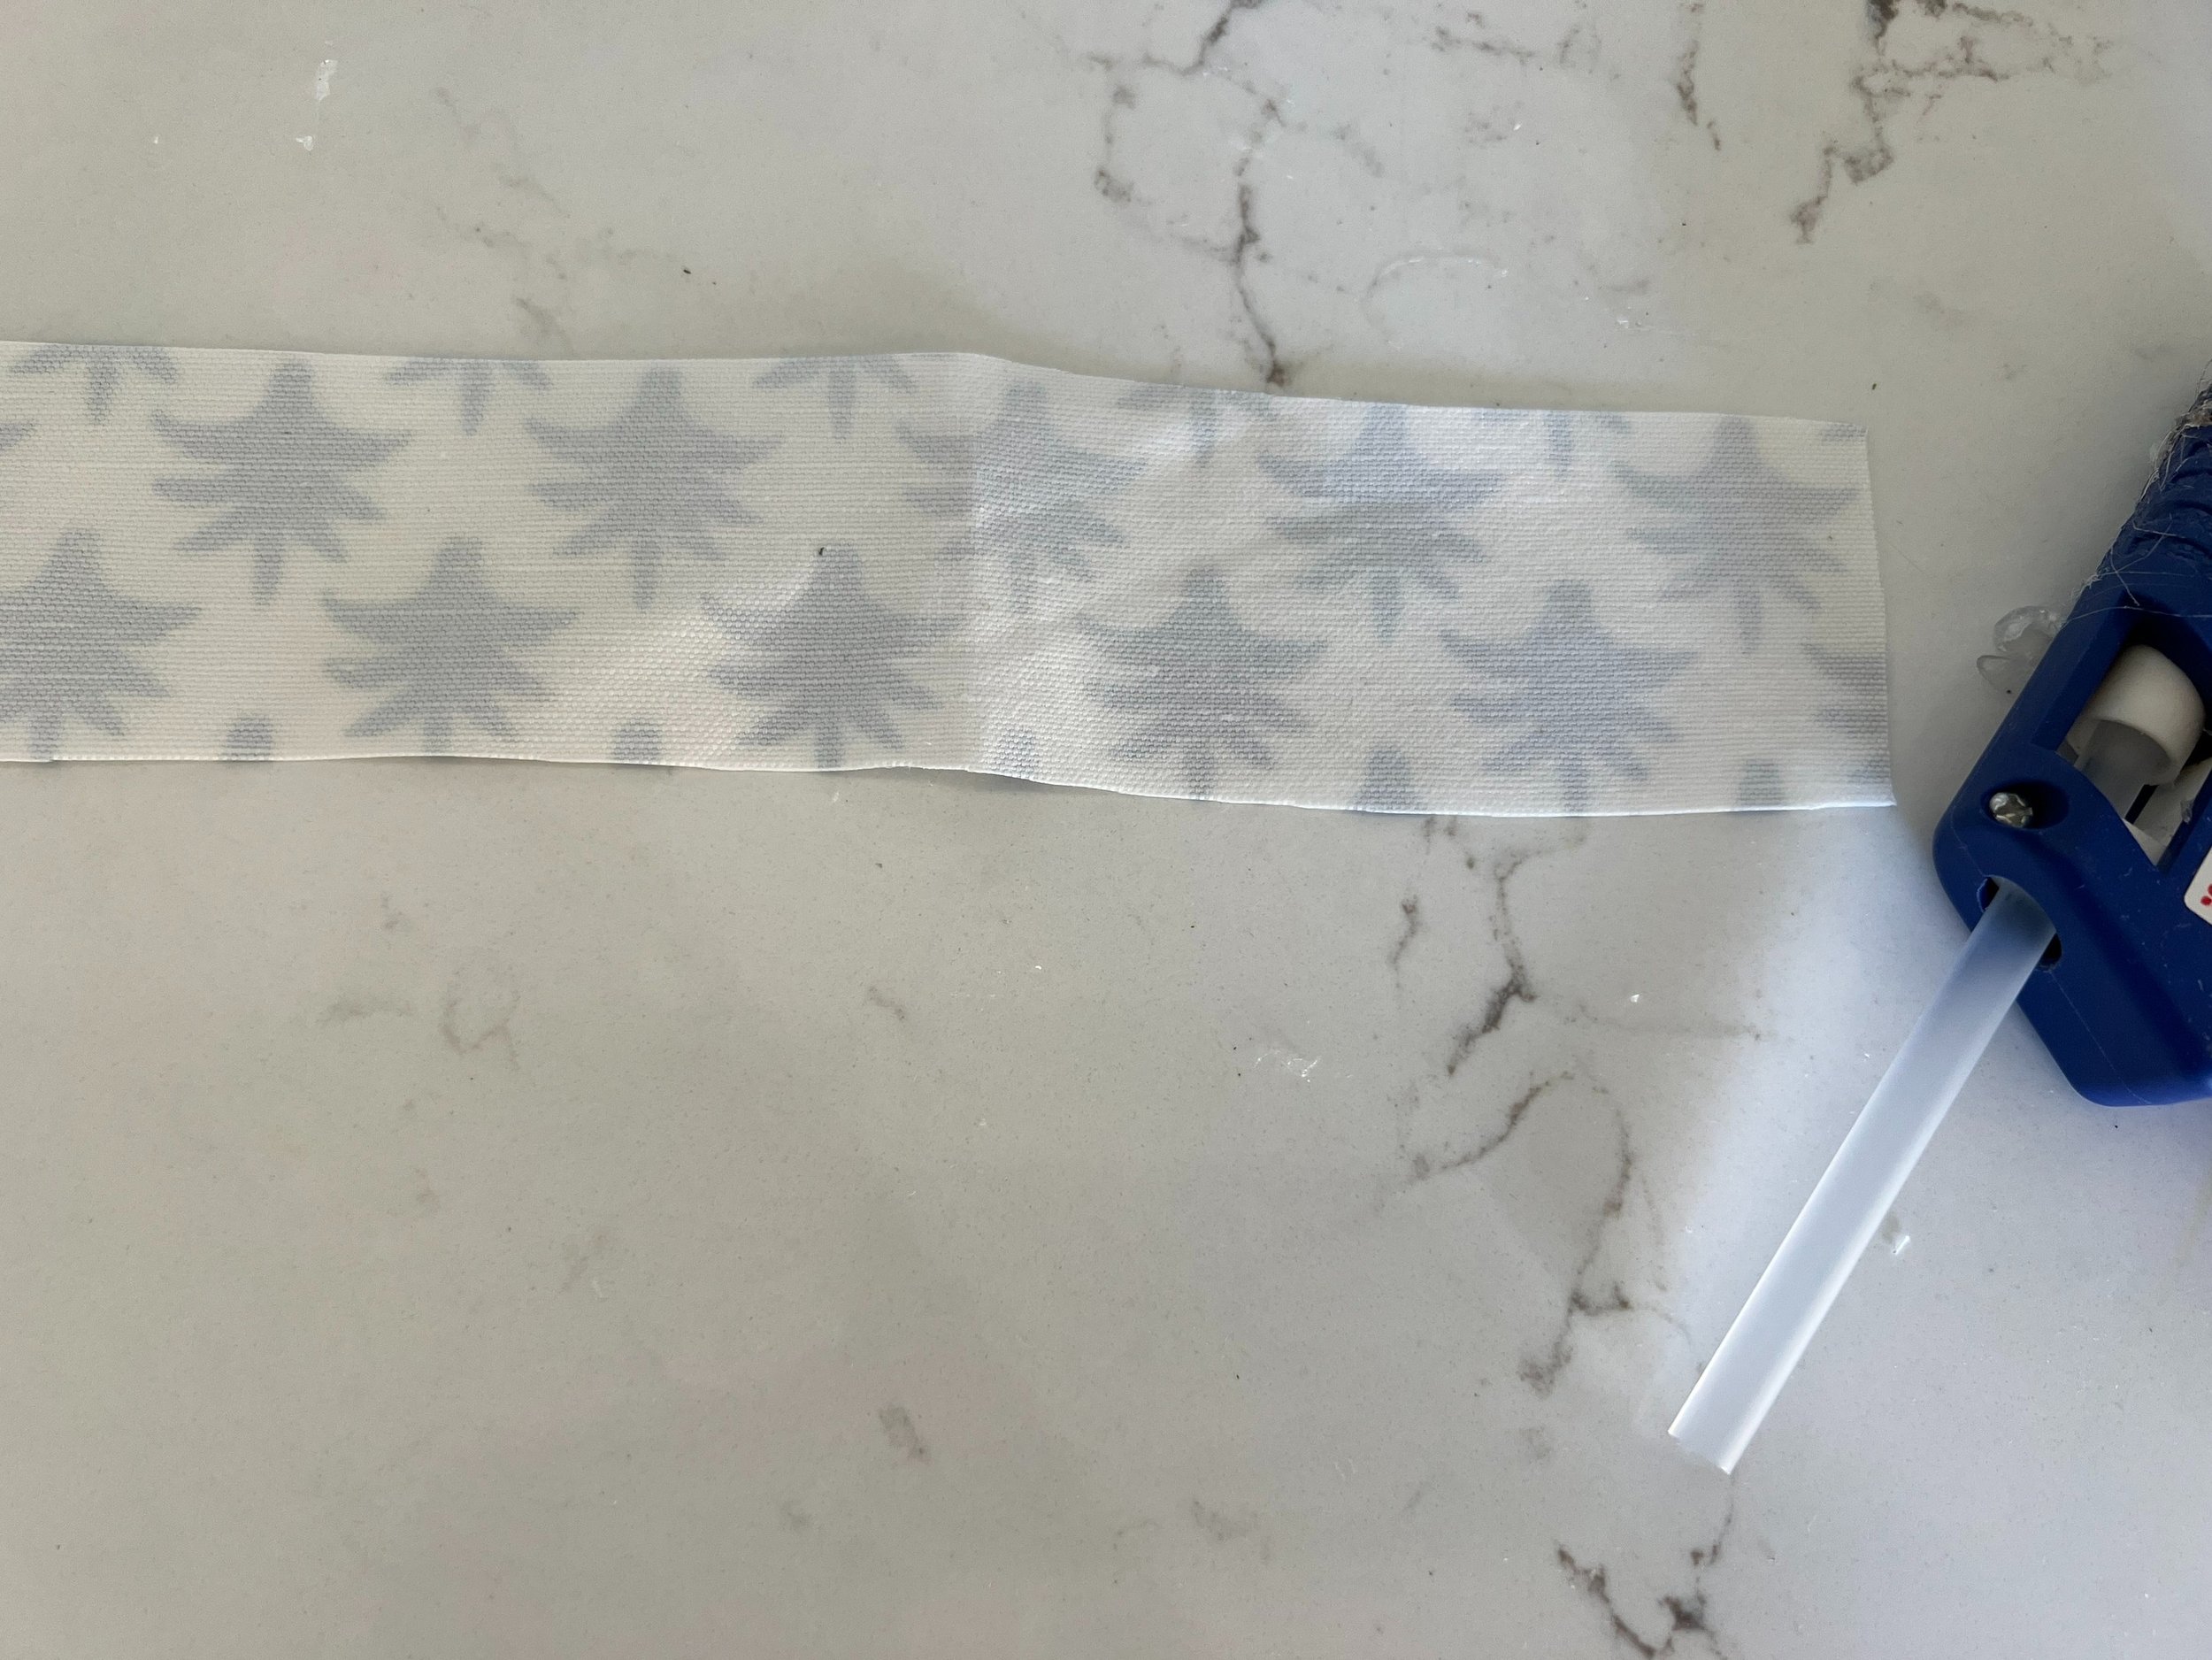
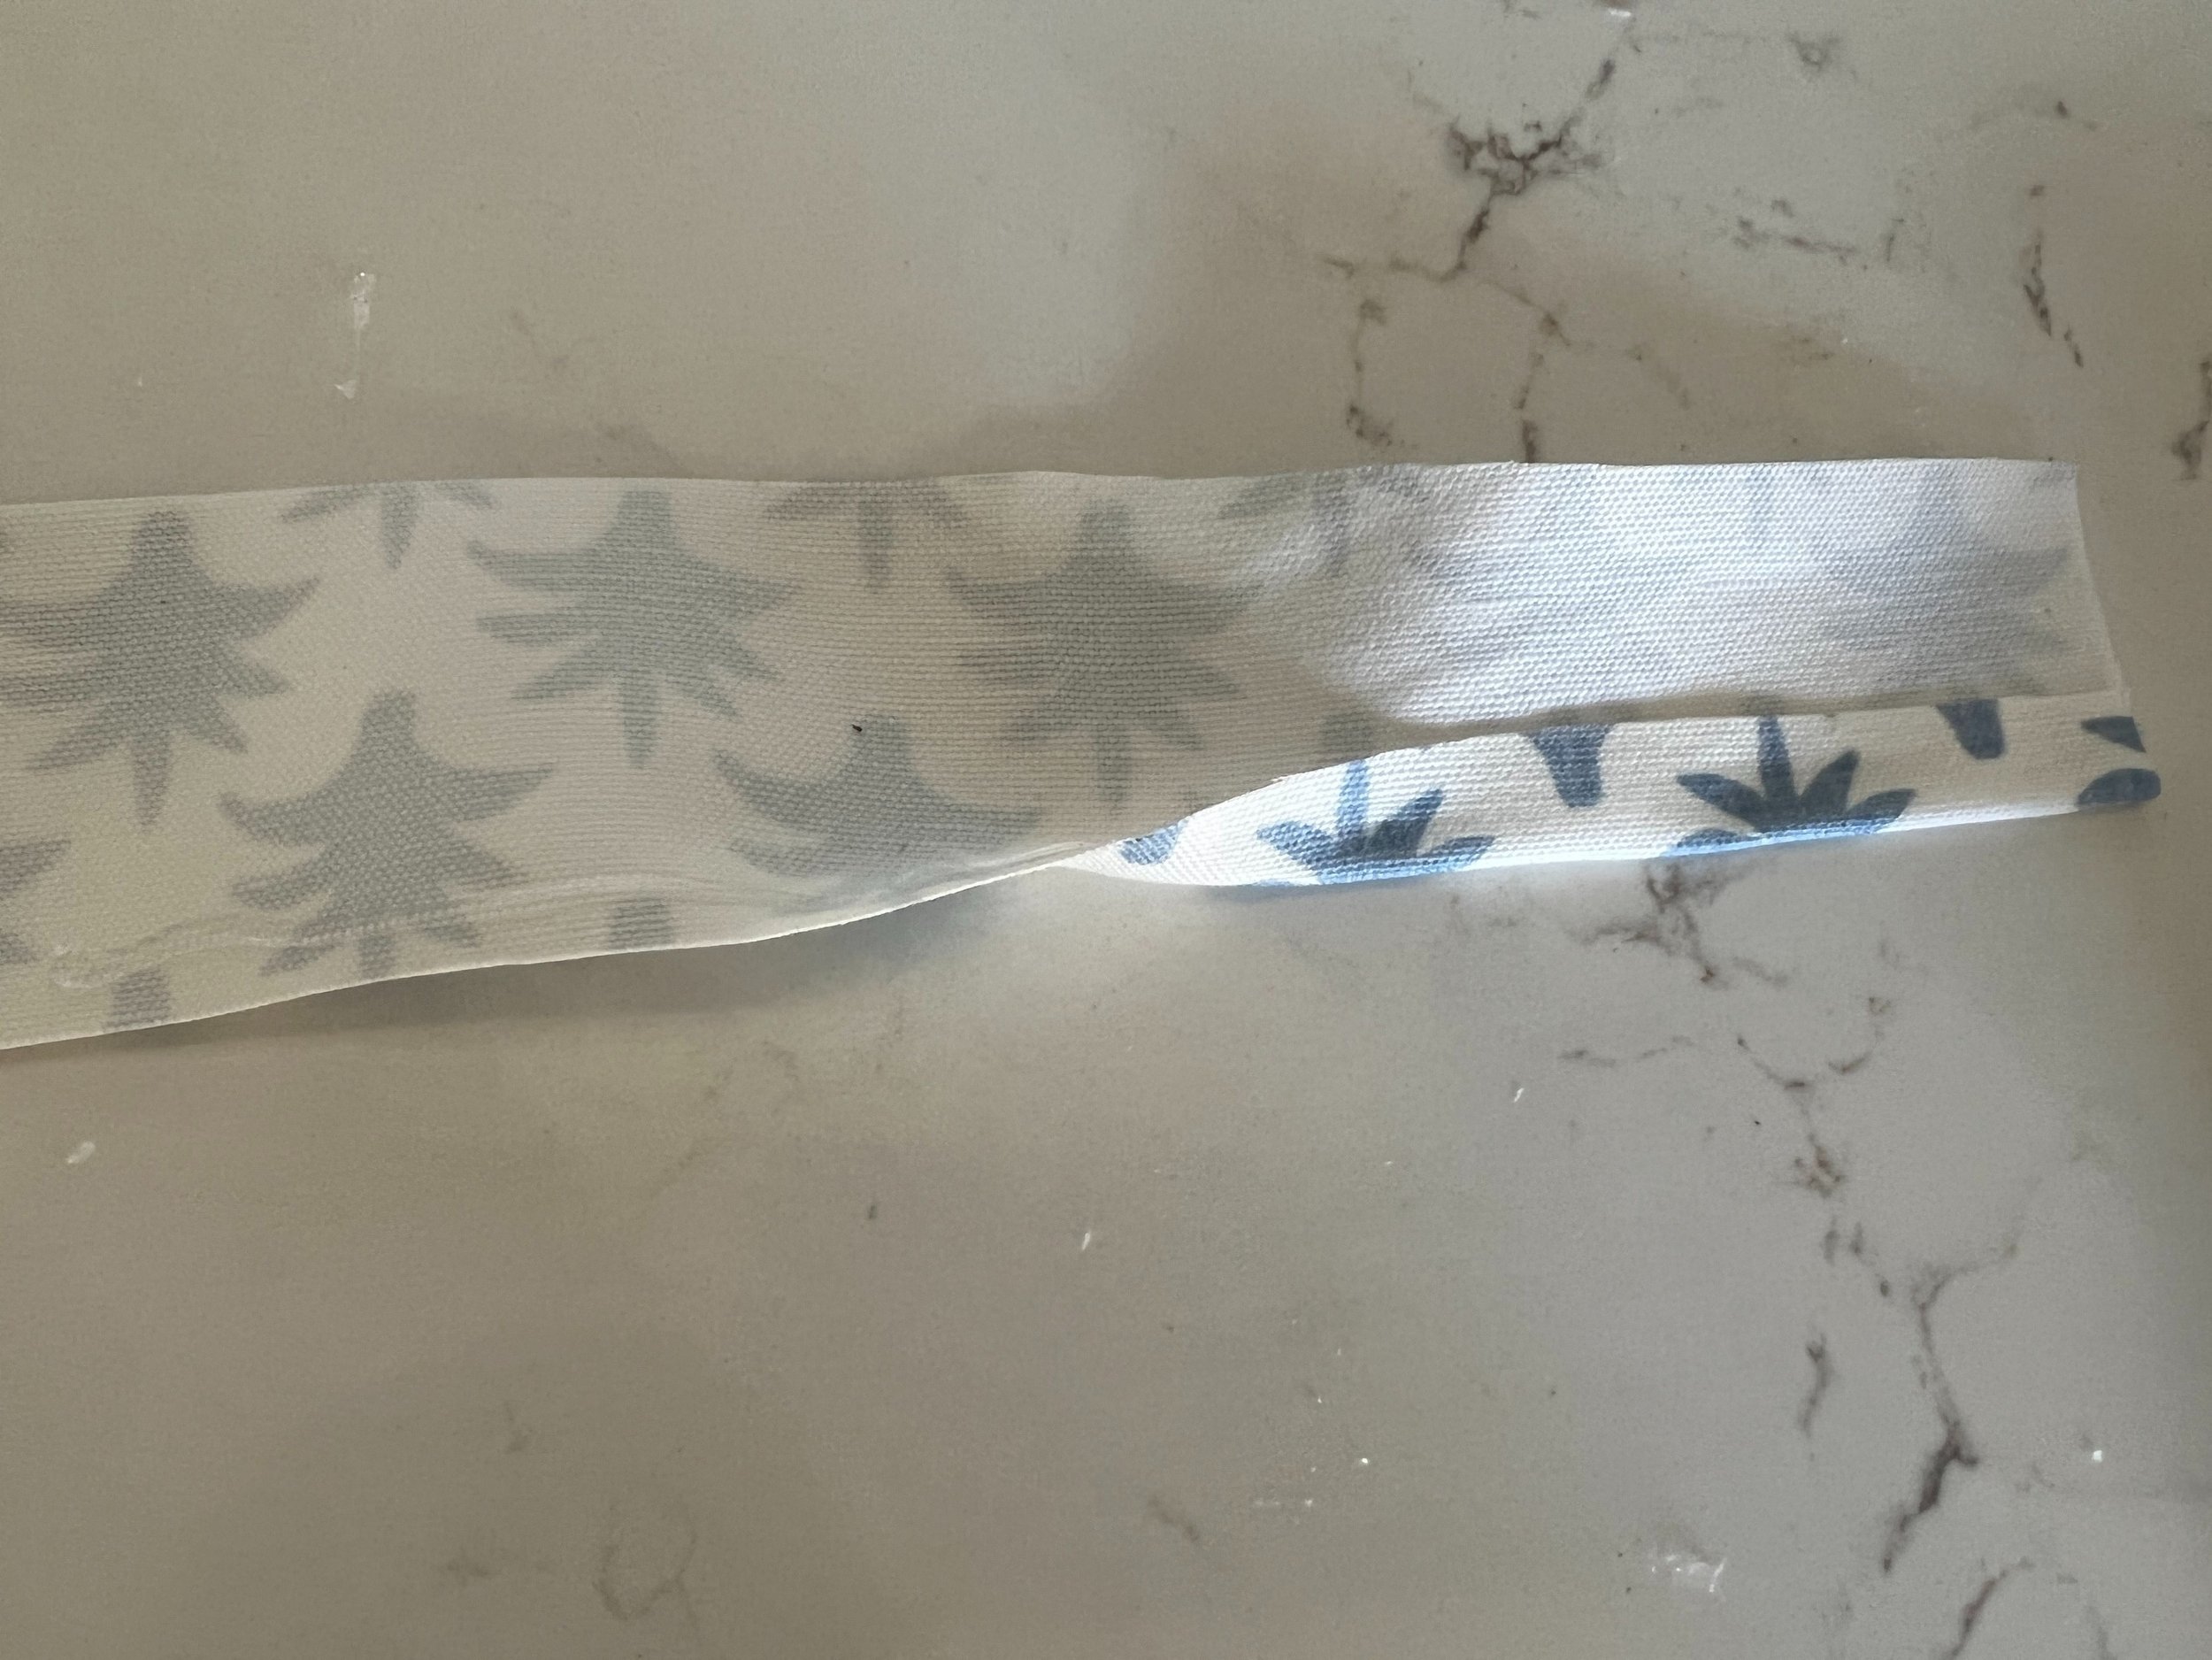
4. Create trim to cover up loose edges at the top and bottom of the shade. Start by measuring and cutting a 2” strip of fabric. You could do this in a contrasting fabric, but I like using the exact same. Apply a very thin bead of hot glue on one edge of the fabric and fold the fabric over so that the edge meets in the middle. Do this with the other side of the fabric as well.

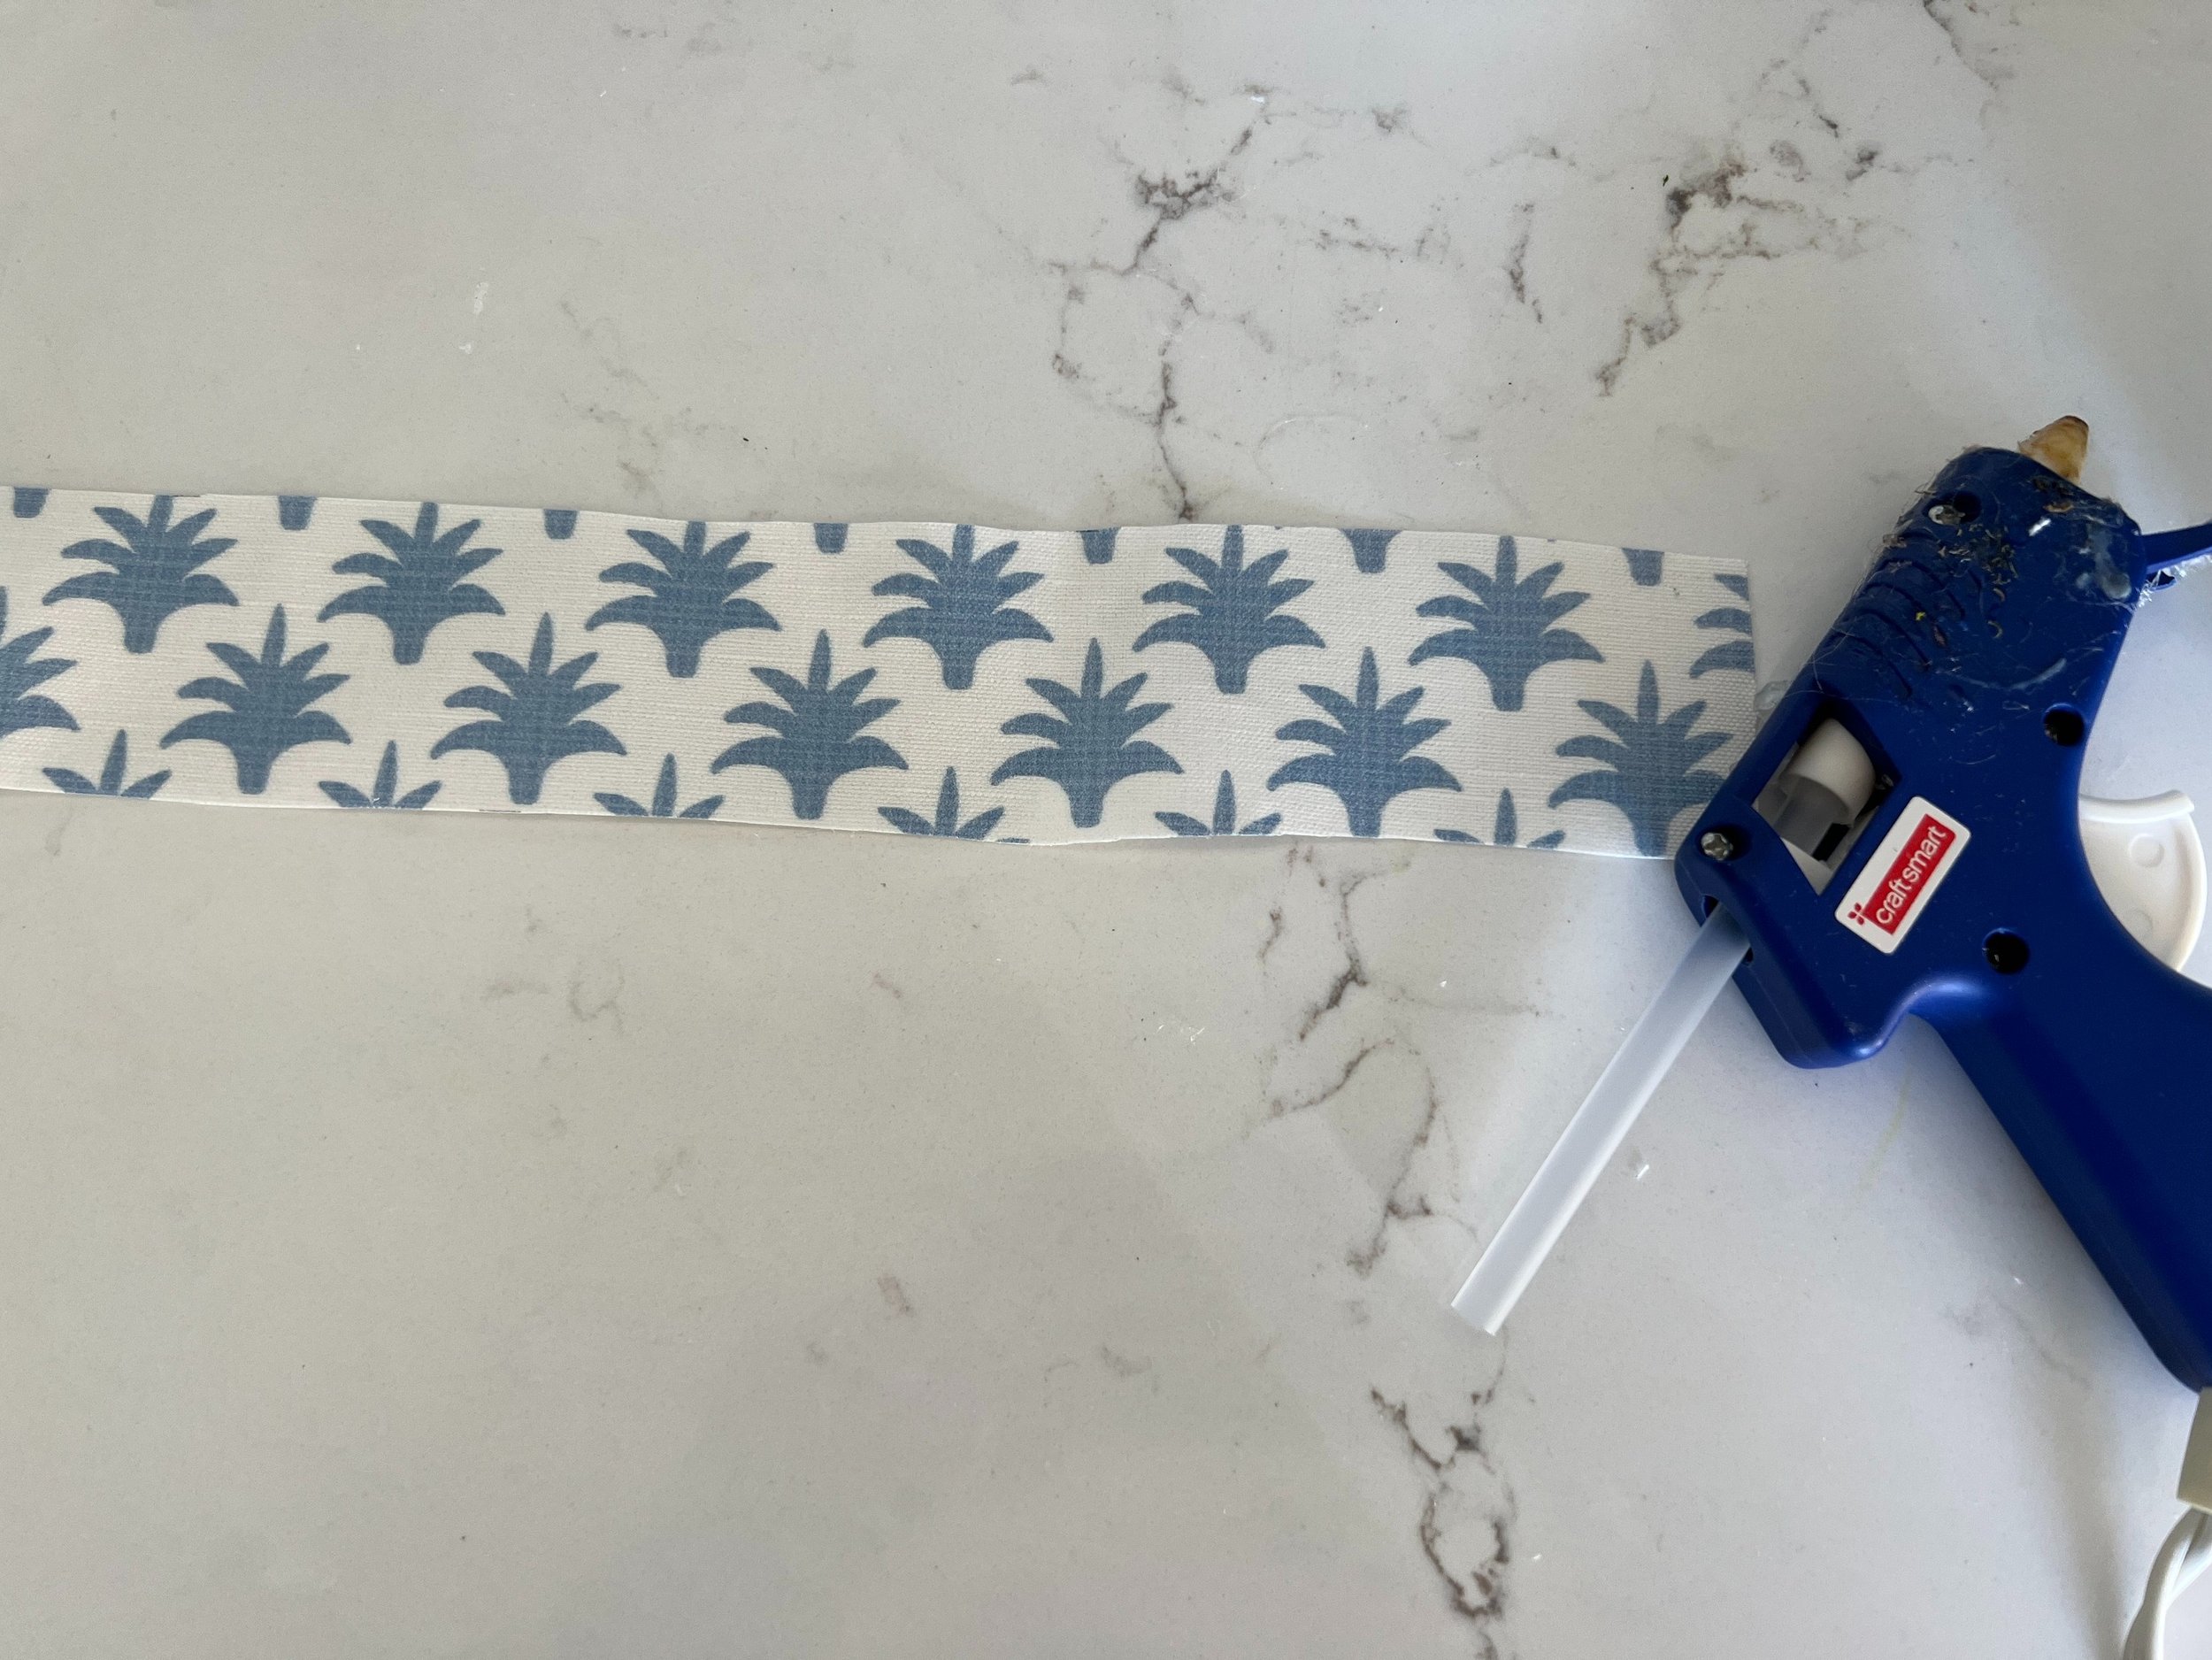
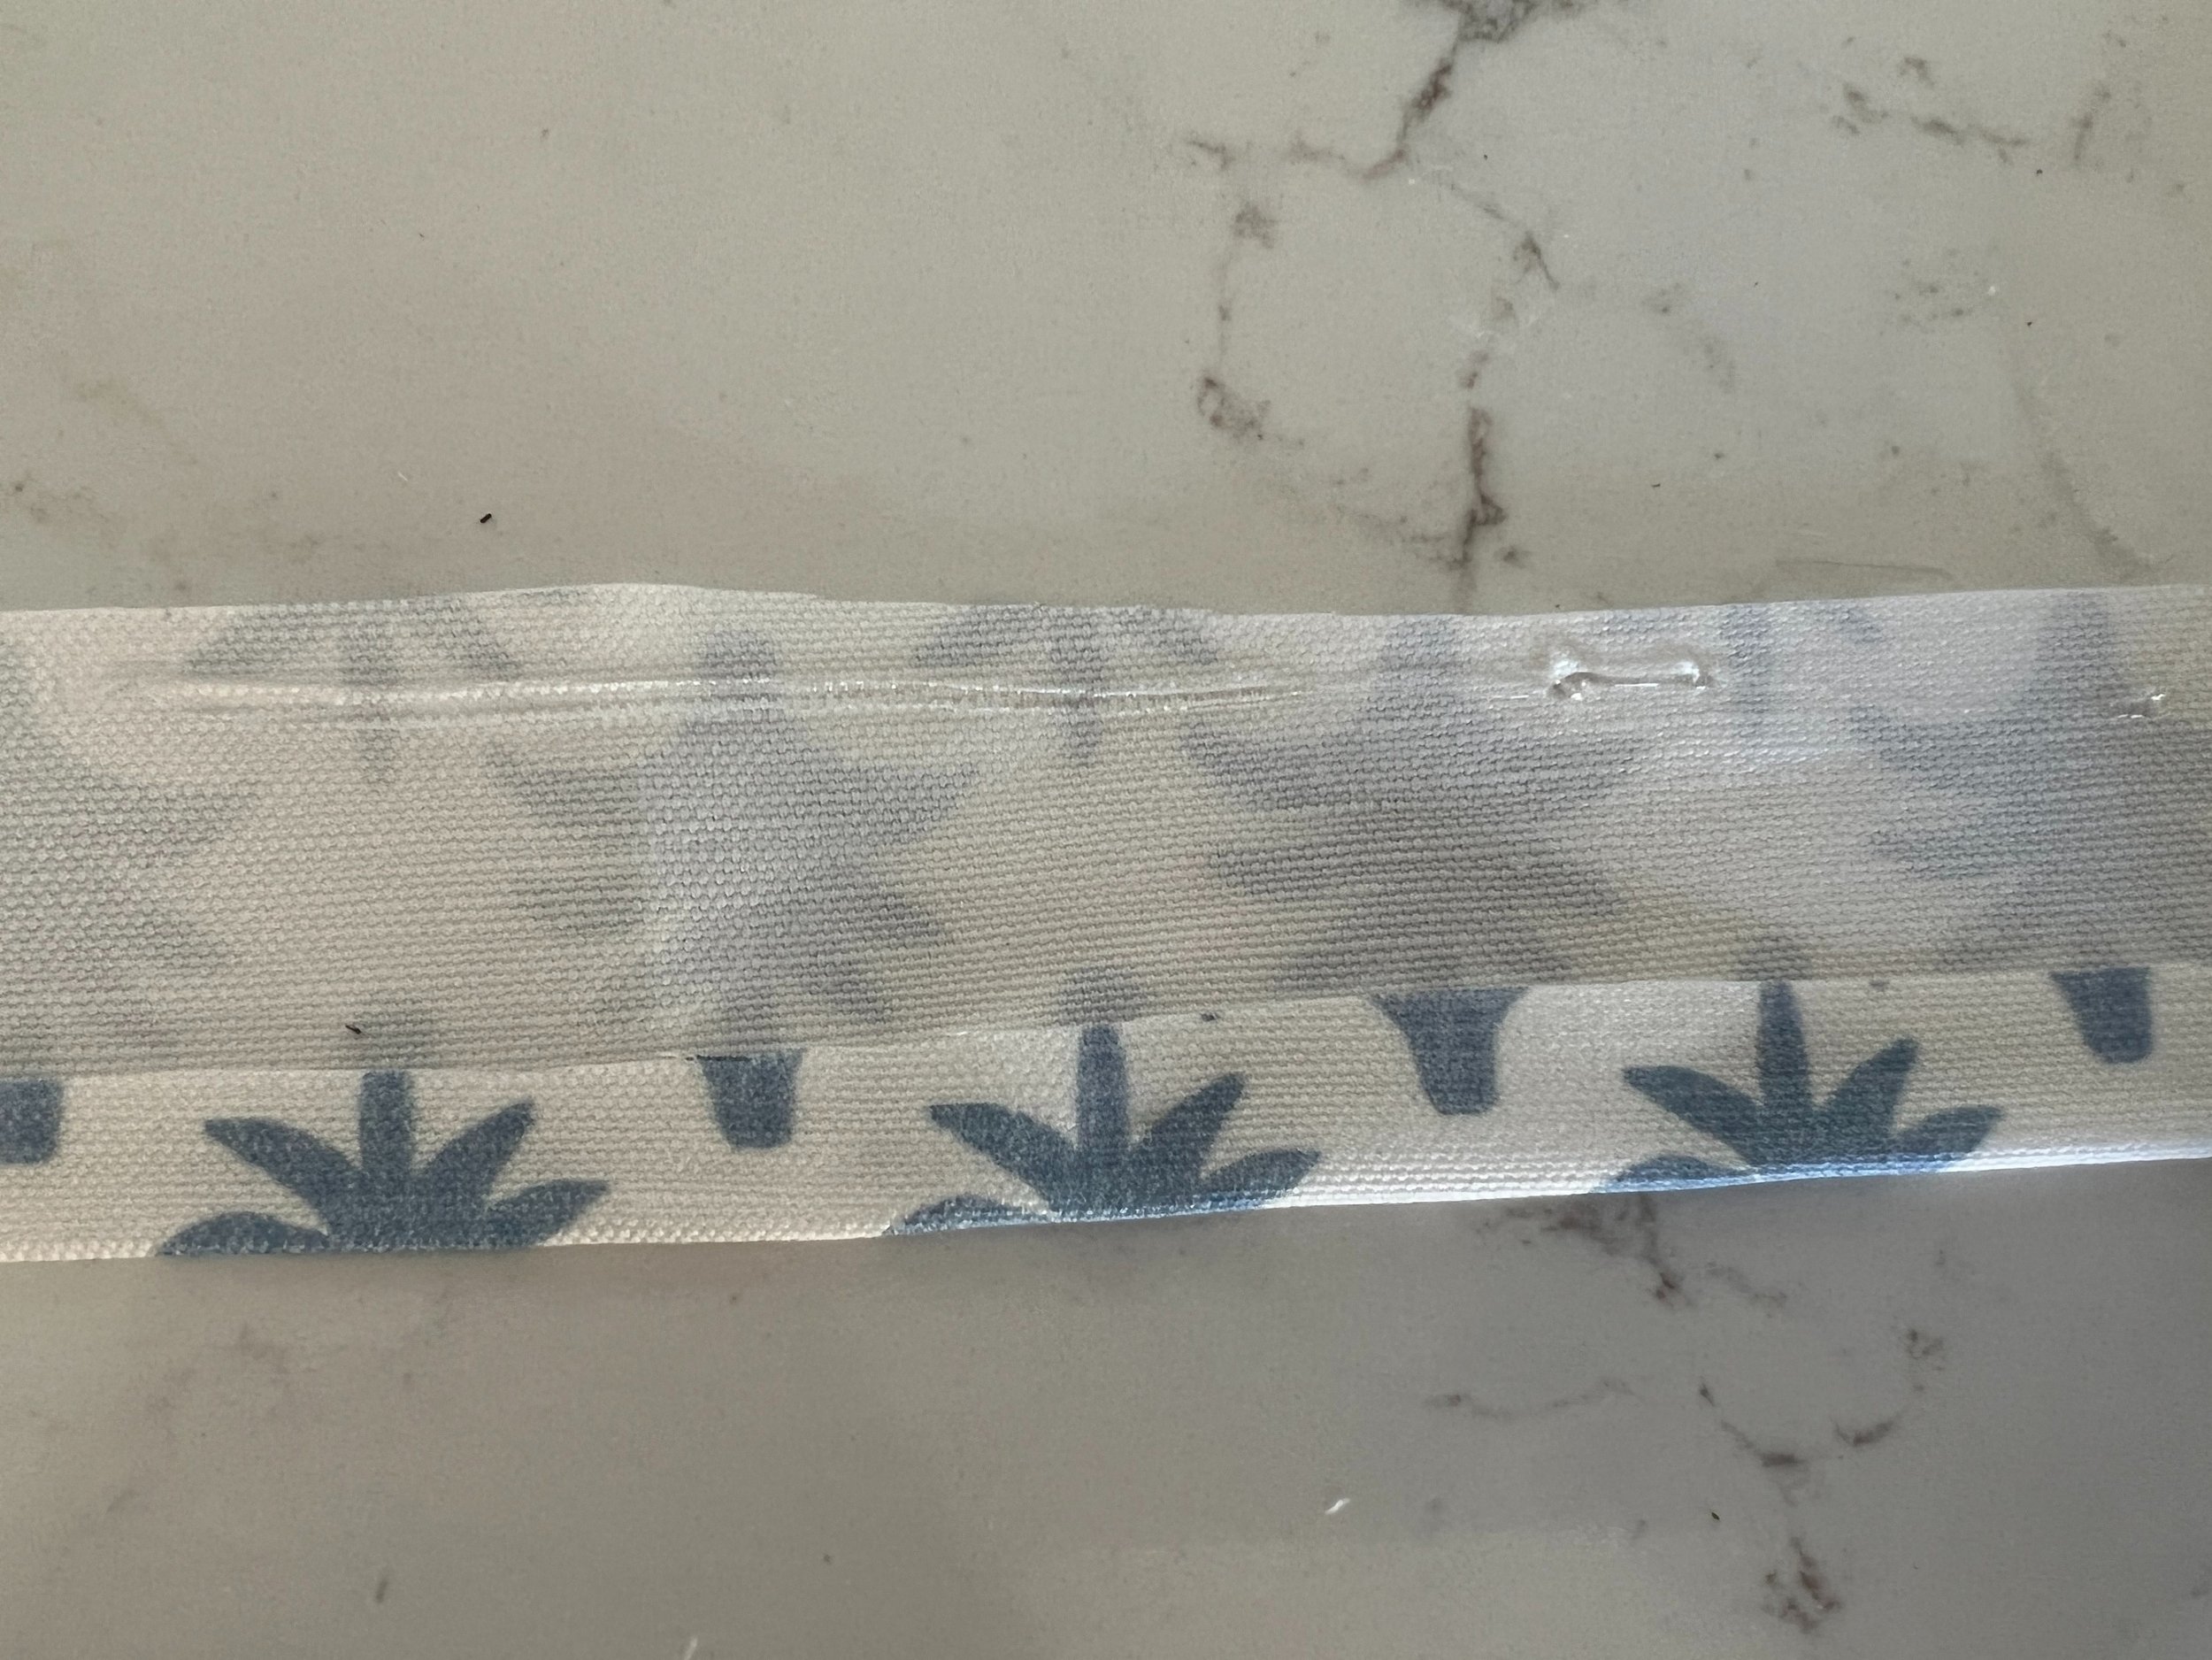
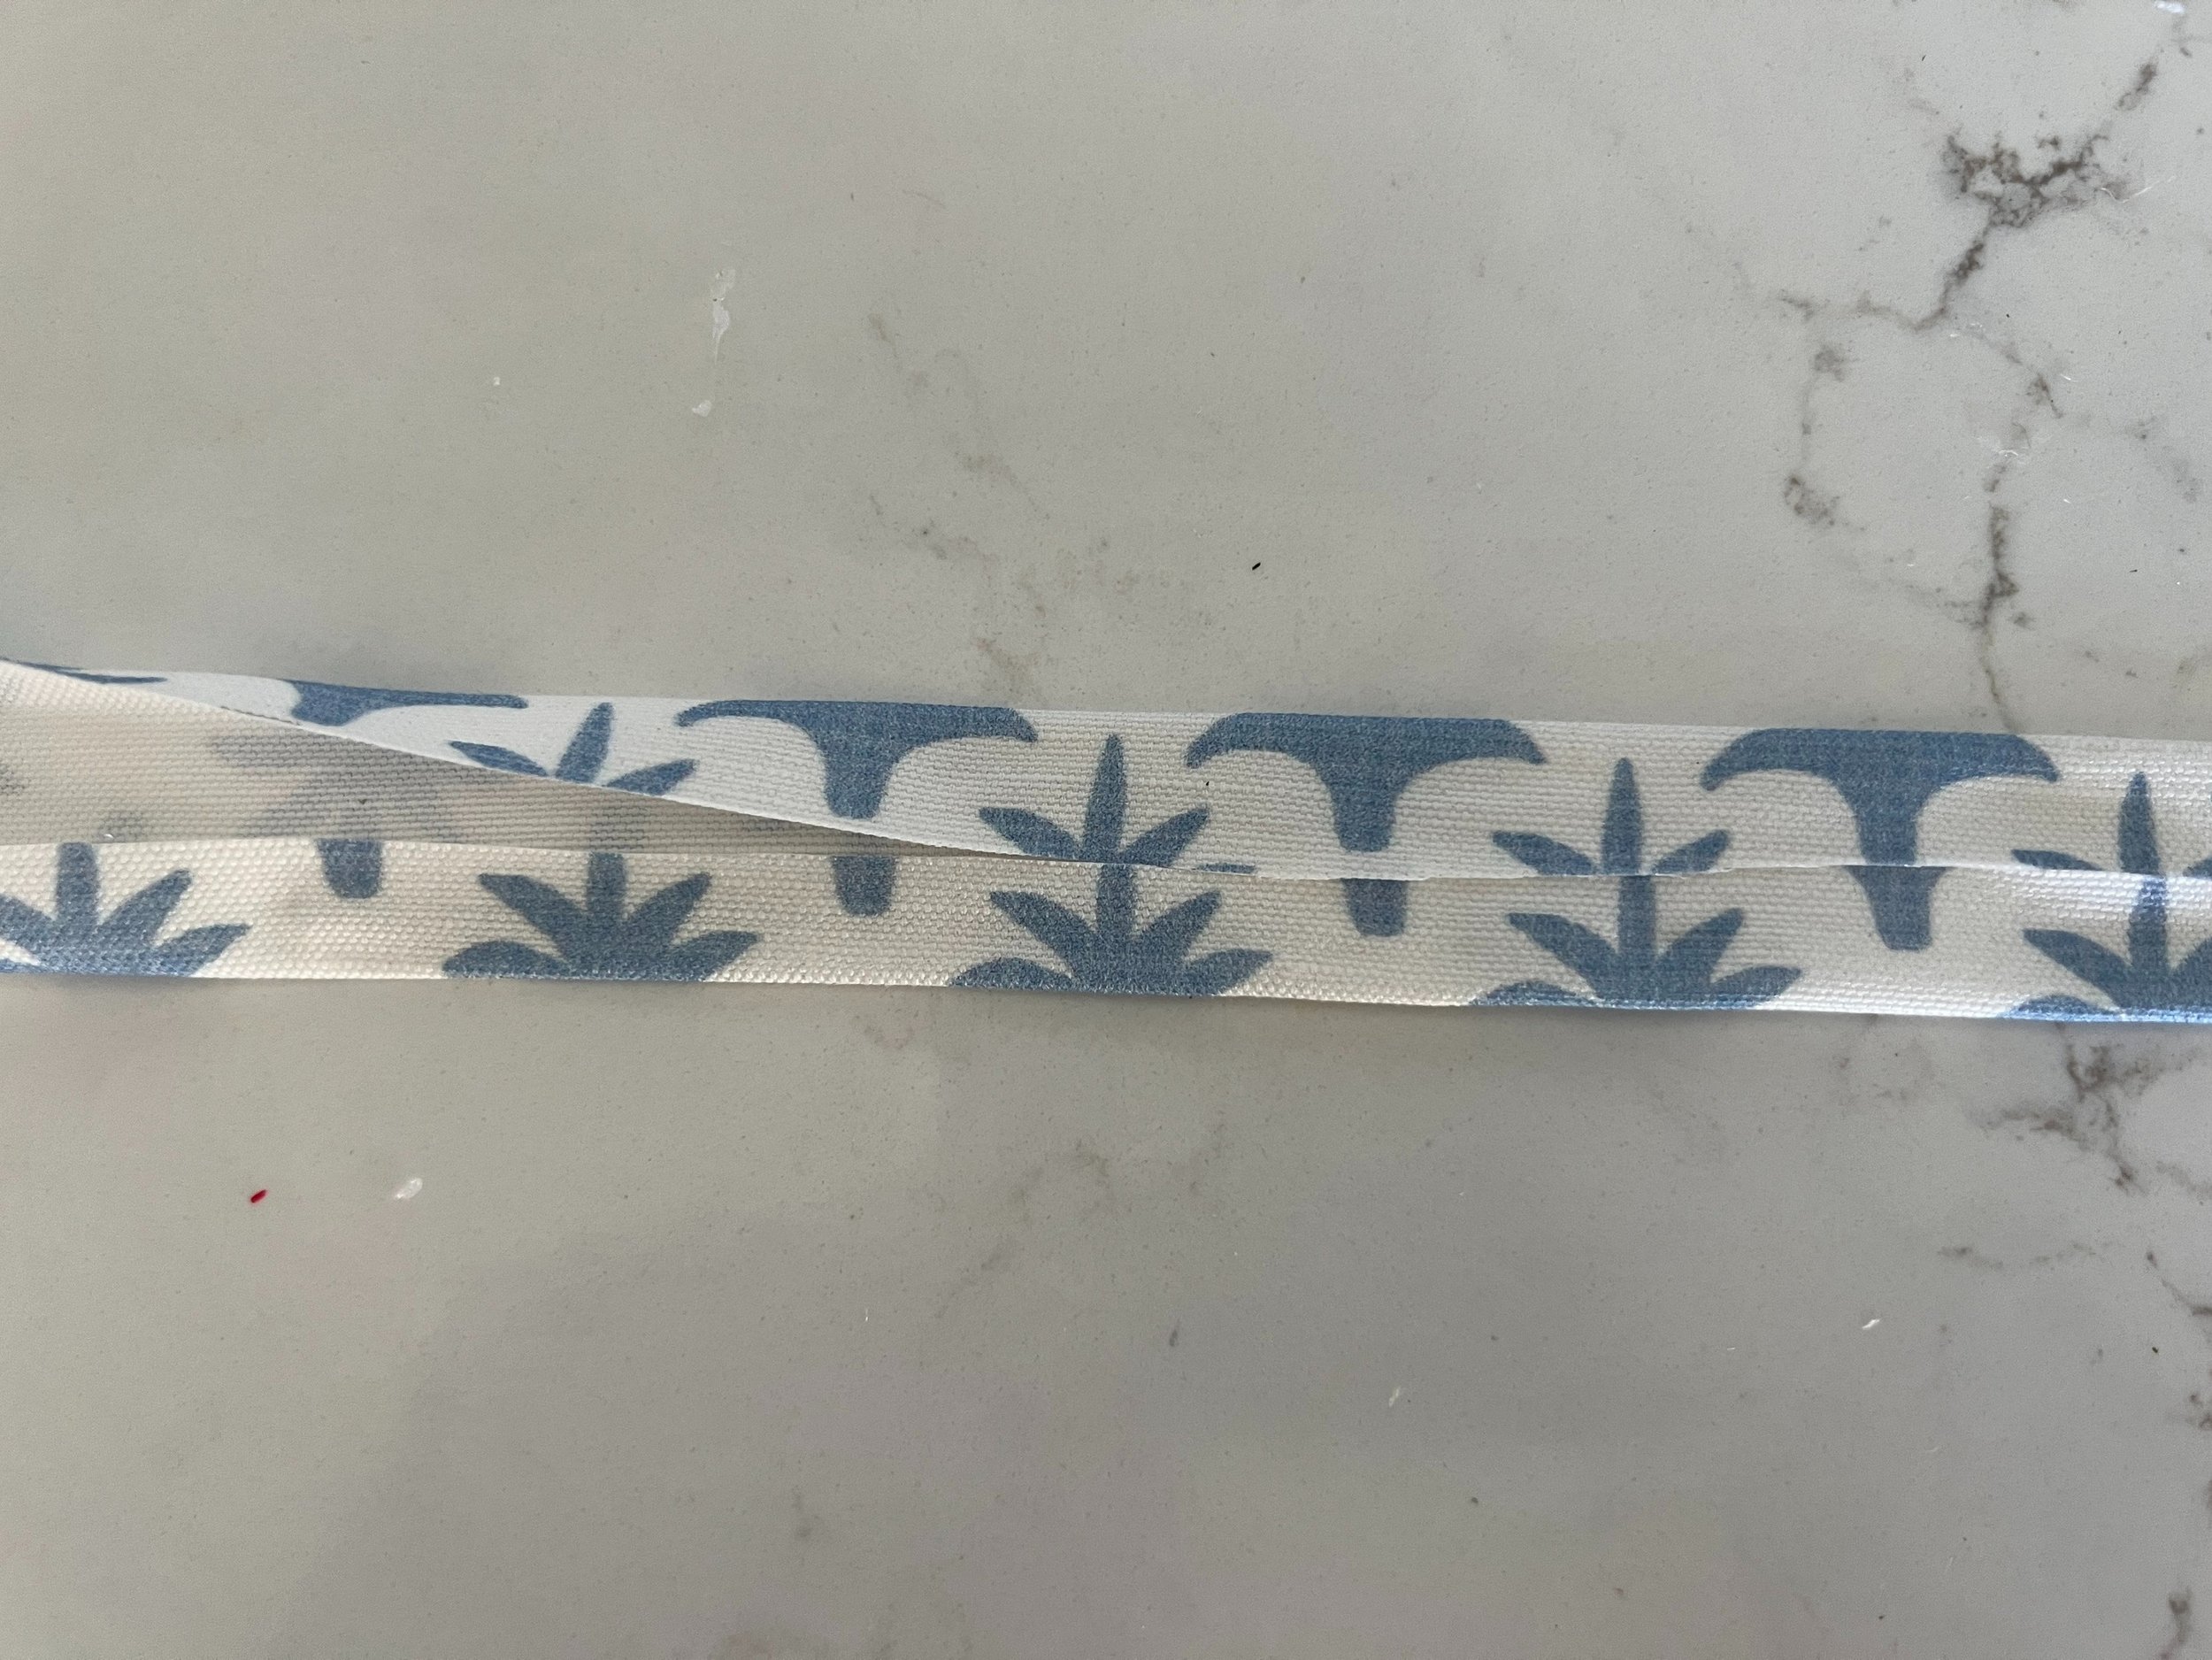
5. Next you want to fold over and glue the strip again to create a decorative finish on the strip. And then glue around the edge, top and bottom covering any edges and unwanted seams. And…voila! DIY custom pleated lampshades!