Peel and Stick Wallpaper… (Copy)
I adore wallpaper. It just adds originality and that wow factor to a room. It gives it personality and makes the space come alive.
When my daughter was a baby, I found an amazing wallpaper mural online from Pottery Barn Kids that was a large tree with birds and butterflies. I saw it online once and then never again, but I couldn’t stop thinking about it. I think I called every PBKids in the country and finally, one store had it on clearance!!!!
At that time, we lived in a home that was built in 1901. It was a beautiful Victorian that was in really good shape. We gutted the kitchen, but the rest of the house just needed cosmetic updating. We had the carpet pulled up and refinished the wood floors. We had all the wallpaper removed and gave it a fresh coat of paint. It is my favorite house we have owned to date.
Yes, I said it. We had all the wallpaper removed. You guys, this wasn’t pretty wallpaper. I couldn’t live with it. Every single room had the same 1970’s paper. Nope.
Needless to say, the tree mural in my daughter’s room was gorgeous. It made the space perfect and everyone commented on it that saw it. It broke my heart to leave that there when we moved.
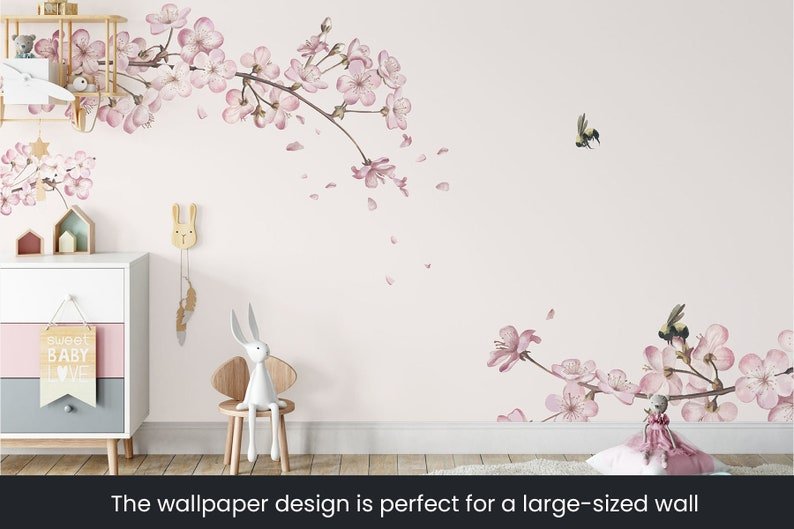
This is a great example of a beautiful nursery mural. This is not the exact one I used, but it is similar and would have the same effect in a child’s room.
Fast forward to our current home. It’s six years old and cookie cutter. Ugh. It has been a challenge trying to personalize this home. But, little by little it is happening. I’m going to be sharing in future posts all kinds of projects you can DIY to make your cookie cutter home more unique so it feels custom without the custom price tag.
One of the worst obstacles with this home is textured walls. It’s called knockdown and it very common in Colorado and other parts of the southwest. This is the first place I’ve lived with textured walls, so there’s been some failed experiments as well as some surprising triumphs. This brings me back to my love for wallpaper. I have been dying to put up wallpaper in this house, but keep reading horror stories about how you can’t do it on textured walls. You either have to have the house skim coated which is super expensive (not doing) or you can put up a wallpaper liner and then paper over that (sounds like too much work). So I’ve tried a few other things.
I hand painted a pattern on a small portion of a wall in my laundry room above a shelf.

This was handpainted to look completely random. I used leftover Sherwin Williams Gale Force and a medium sized acrylic paint brush. It was super easy to do, but I wouldn’t do it on a large wall. This technique is best for a small area like a laundry room or bathroom.
I also got bored during a blizzard last year and decoupaged an area, again above a shelf in my mudroom with paper napkins I got on sale from Serena and Lily. If you haven’t seen their catalog, it is gorgeous. Every time I get a catalog, I get serious beach house envy. I love Serena and Lily, but it is expensive.

I bought these paper napkins because I loved the print and I knew I could use them sooner or later for something. It wasn’t easy to do, but piecing 20 paper napkins together definitely kept me busy while I was snowed in. I used a foam brush to apply Modpodge in gloss finish to the wall and then another layer of Modpodge on top of the napkin after I applied it to the wall. If you do this, it will stick! I don’t want to say this is permanent, but it’s definitely not going anywhere. I’m pretty confident if you change your mind or want something different in the future it can be painted over with no trouble.

Love this print from Serena and Lily!
All in all, these were both pretty simple projects and I’d do them both again even with texturing on the walls.
Okay, now for the peel and stick wallpaper. I’ve read tons of mixed reviews about it. Most manufacturers say that it cannot be used on textured walls. However, I’ve also heard a few people here and there that say they’ve done it and it worked great. So, I’ve been determined to try it.

I didn’t want to spend a lot of money on paper for this project, so when I saw a roll of Opalhouse peel and stick paper on a clearance endcap at Target for $10 I was so excited!
There was only one roll and I checked online and they were not on sale. So, one roll it was and that was literally just enough for my powder room ceiling. By the way, a small powder room is a perfect place to try this out!
It worked! It was pretty easy except for the neck stretching, but that’s just because I did the ceiling instead of a wall. My ceiling in the powder room is textured and it is painted white in what appears to be a semi-gloss finish. Why? I have no idea. I’m the second owner of this home. I always paint ceilings in a flat finish. But when I saw the directions on the wallpaper say use semi-gloss, not flat paint I knew it was meant to be.
I measured. I unpeeled about 12” at a time and smoothed it will my hands and then a went over it again using the edge of a credit card. Then I had to cut out with a utility knife a space for the bathroom fan which was kind of a pain but I managed. I did this project by myself and total it took me about 2 hours. I’ll do an update on the paper in a few months because I’m not 100% confident it’s not going to fall down after some time, but for $10 and 2 hours it was completely worth it! I love how it turned out and can’t wait to find another spot for some wallpaper in my home.
Update… It’s now August and I thought I’d give a little update on the peel and stick and how it’s holding up!
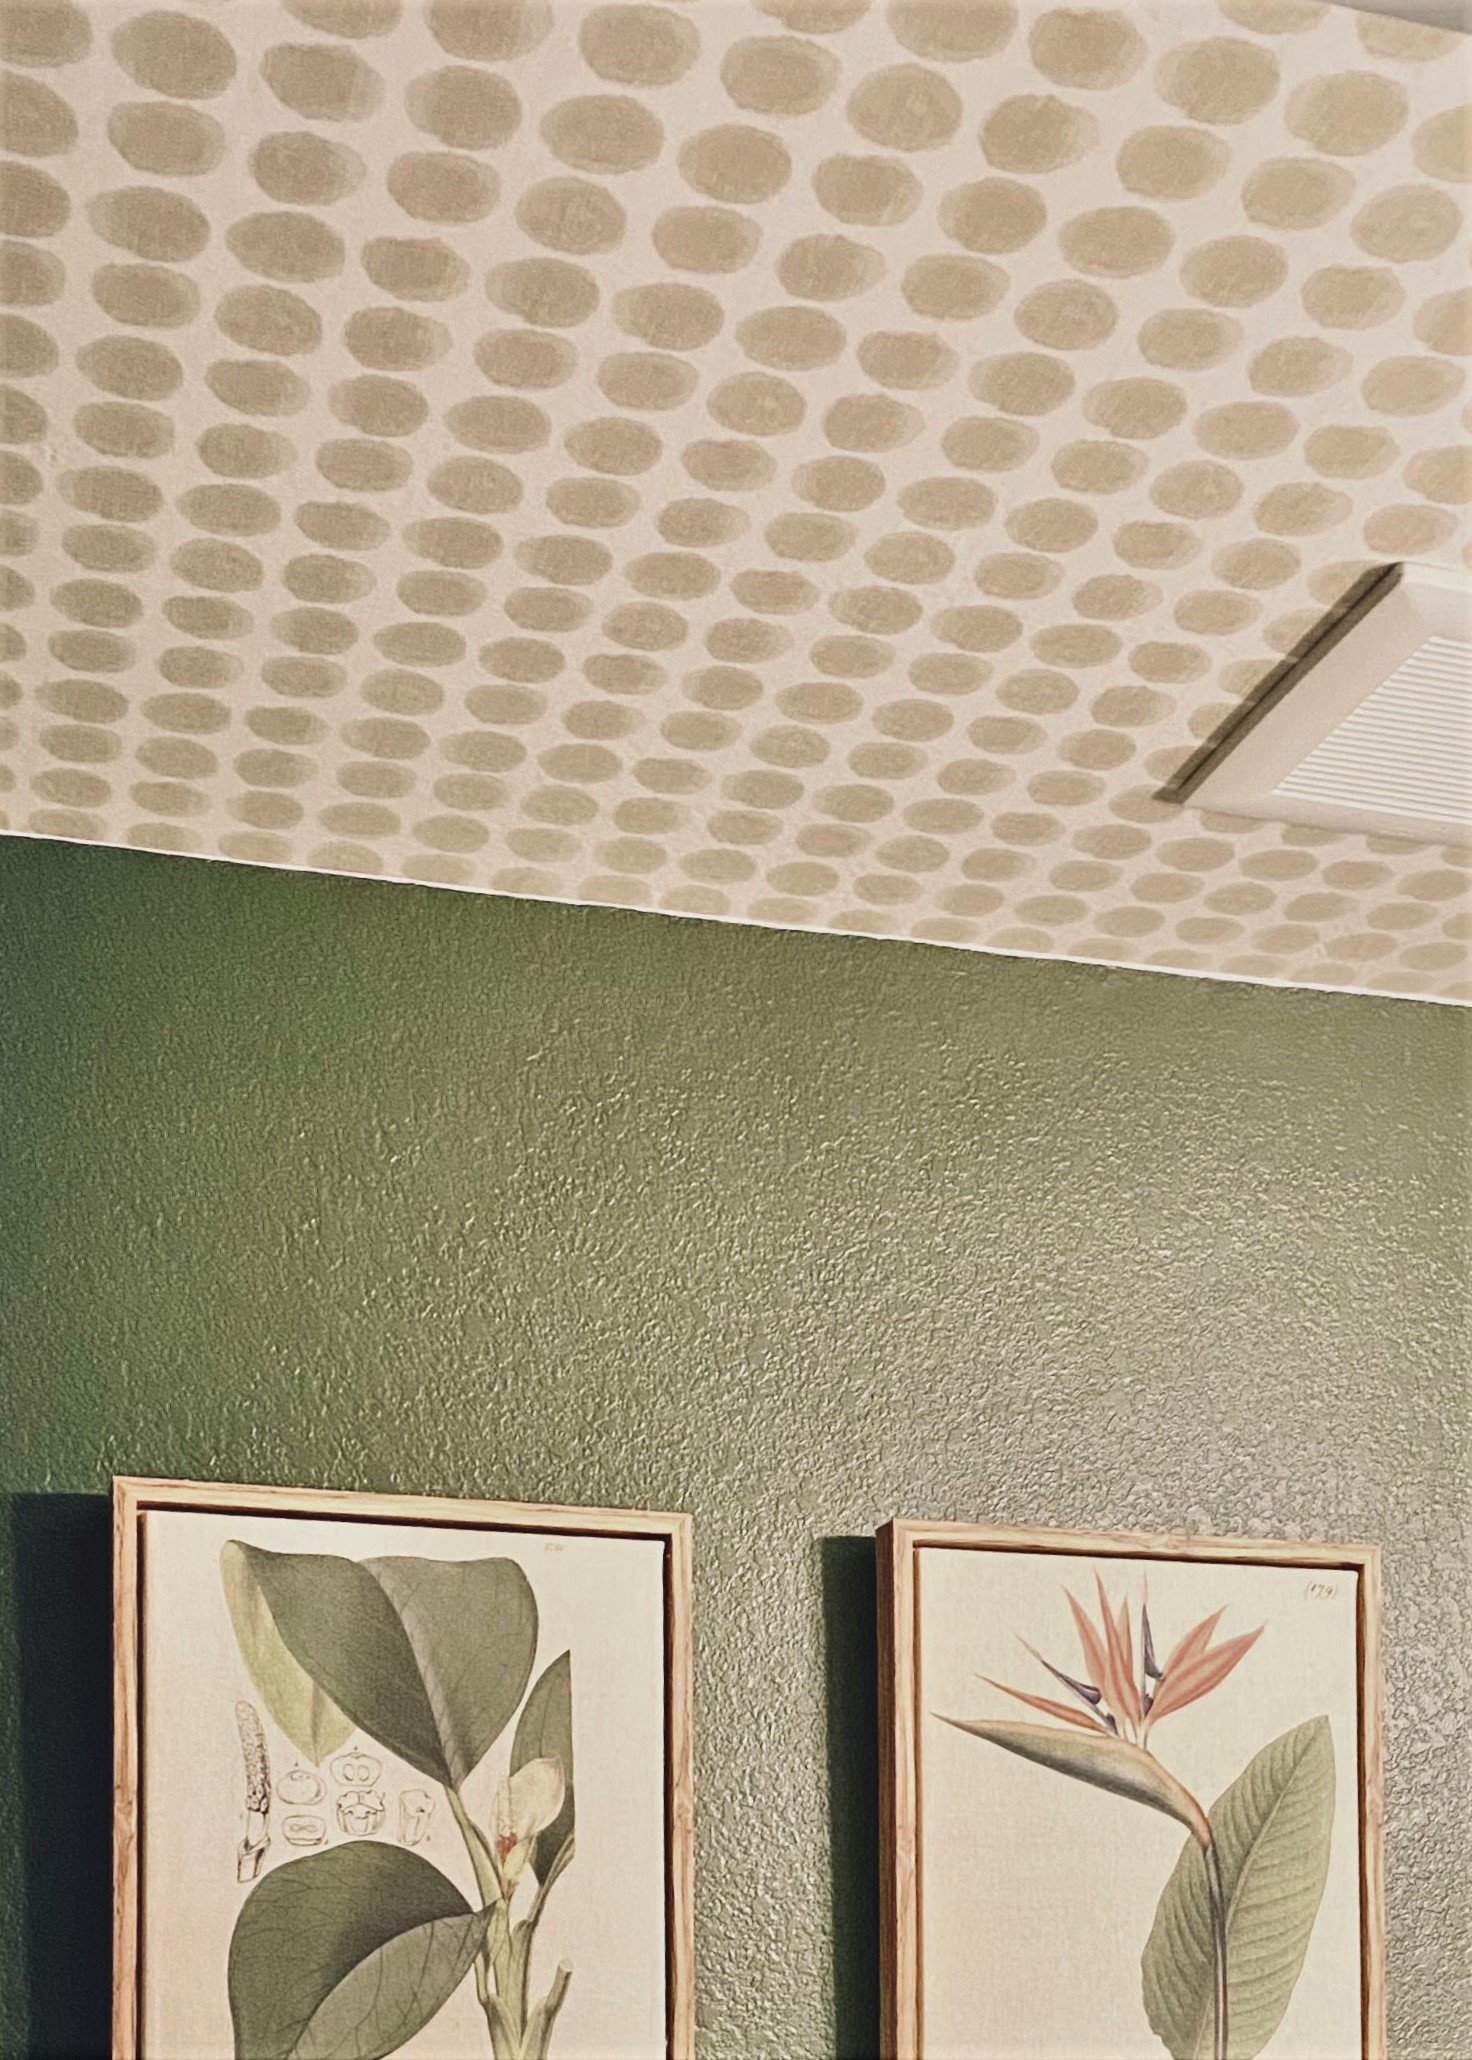
The wallpaper is still up in my powder room. It has bubbled a bit in a corner, but I just smoothed it out and it’s fine. I anticipate it happening again, but I’m not really upset about it. Since doing the powder room, I decided to try the peel and stick in a larger area. I put it up in my home office on the ceiling. I’ve learned some things since the first application I’m going to share with you.
Apply the paper to the ceiling. Why? First of all, I always think of the ceiling as the 5th wall. Fantastic design can be done on a ceiling. If you don’t try wallpaper there, paint it! Anywho, another reason is that it is far away from eye level. Since your ceilings are textured, you will be able to see the texture through the paper. If you’re not skim coating or applying a liner, there’s nothing you can do about this besides just making it less noticeable.
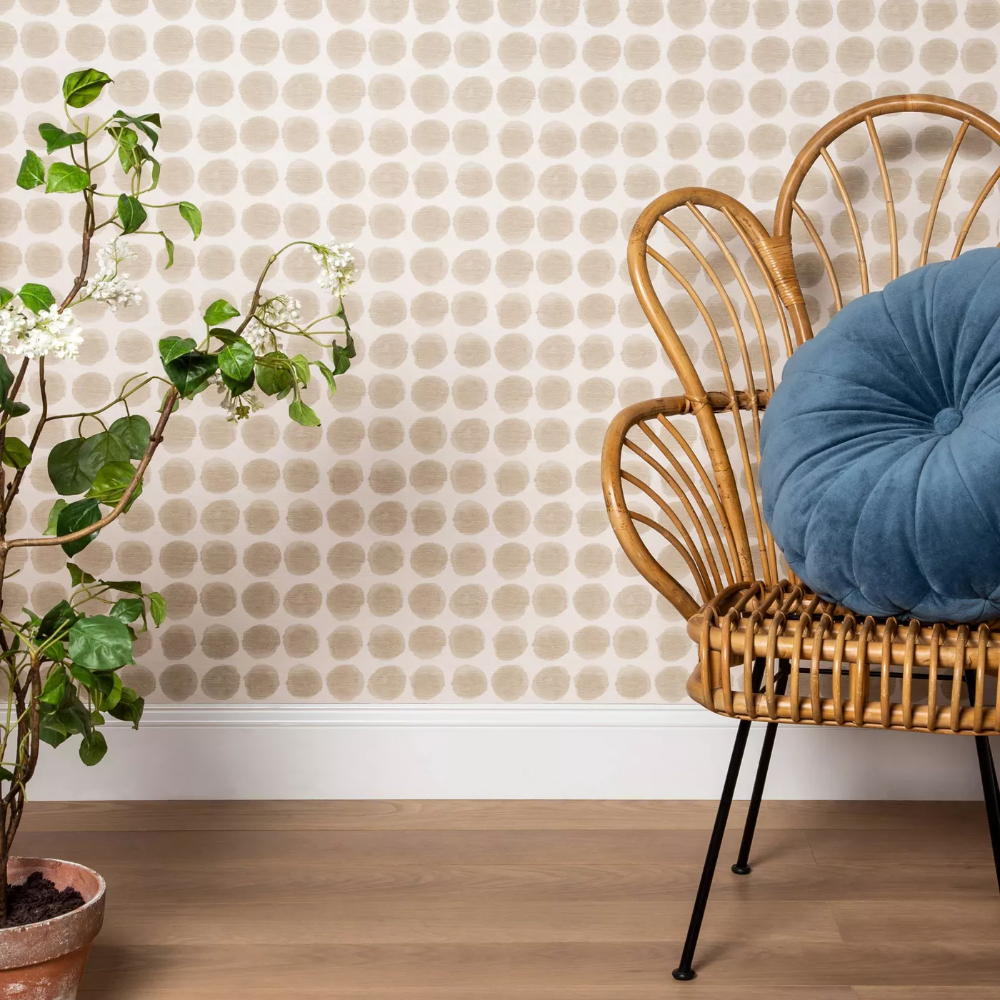
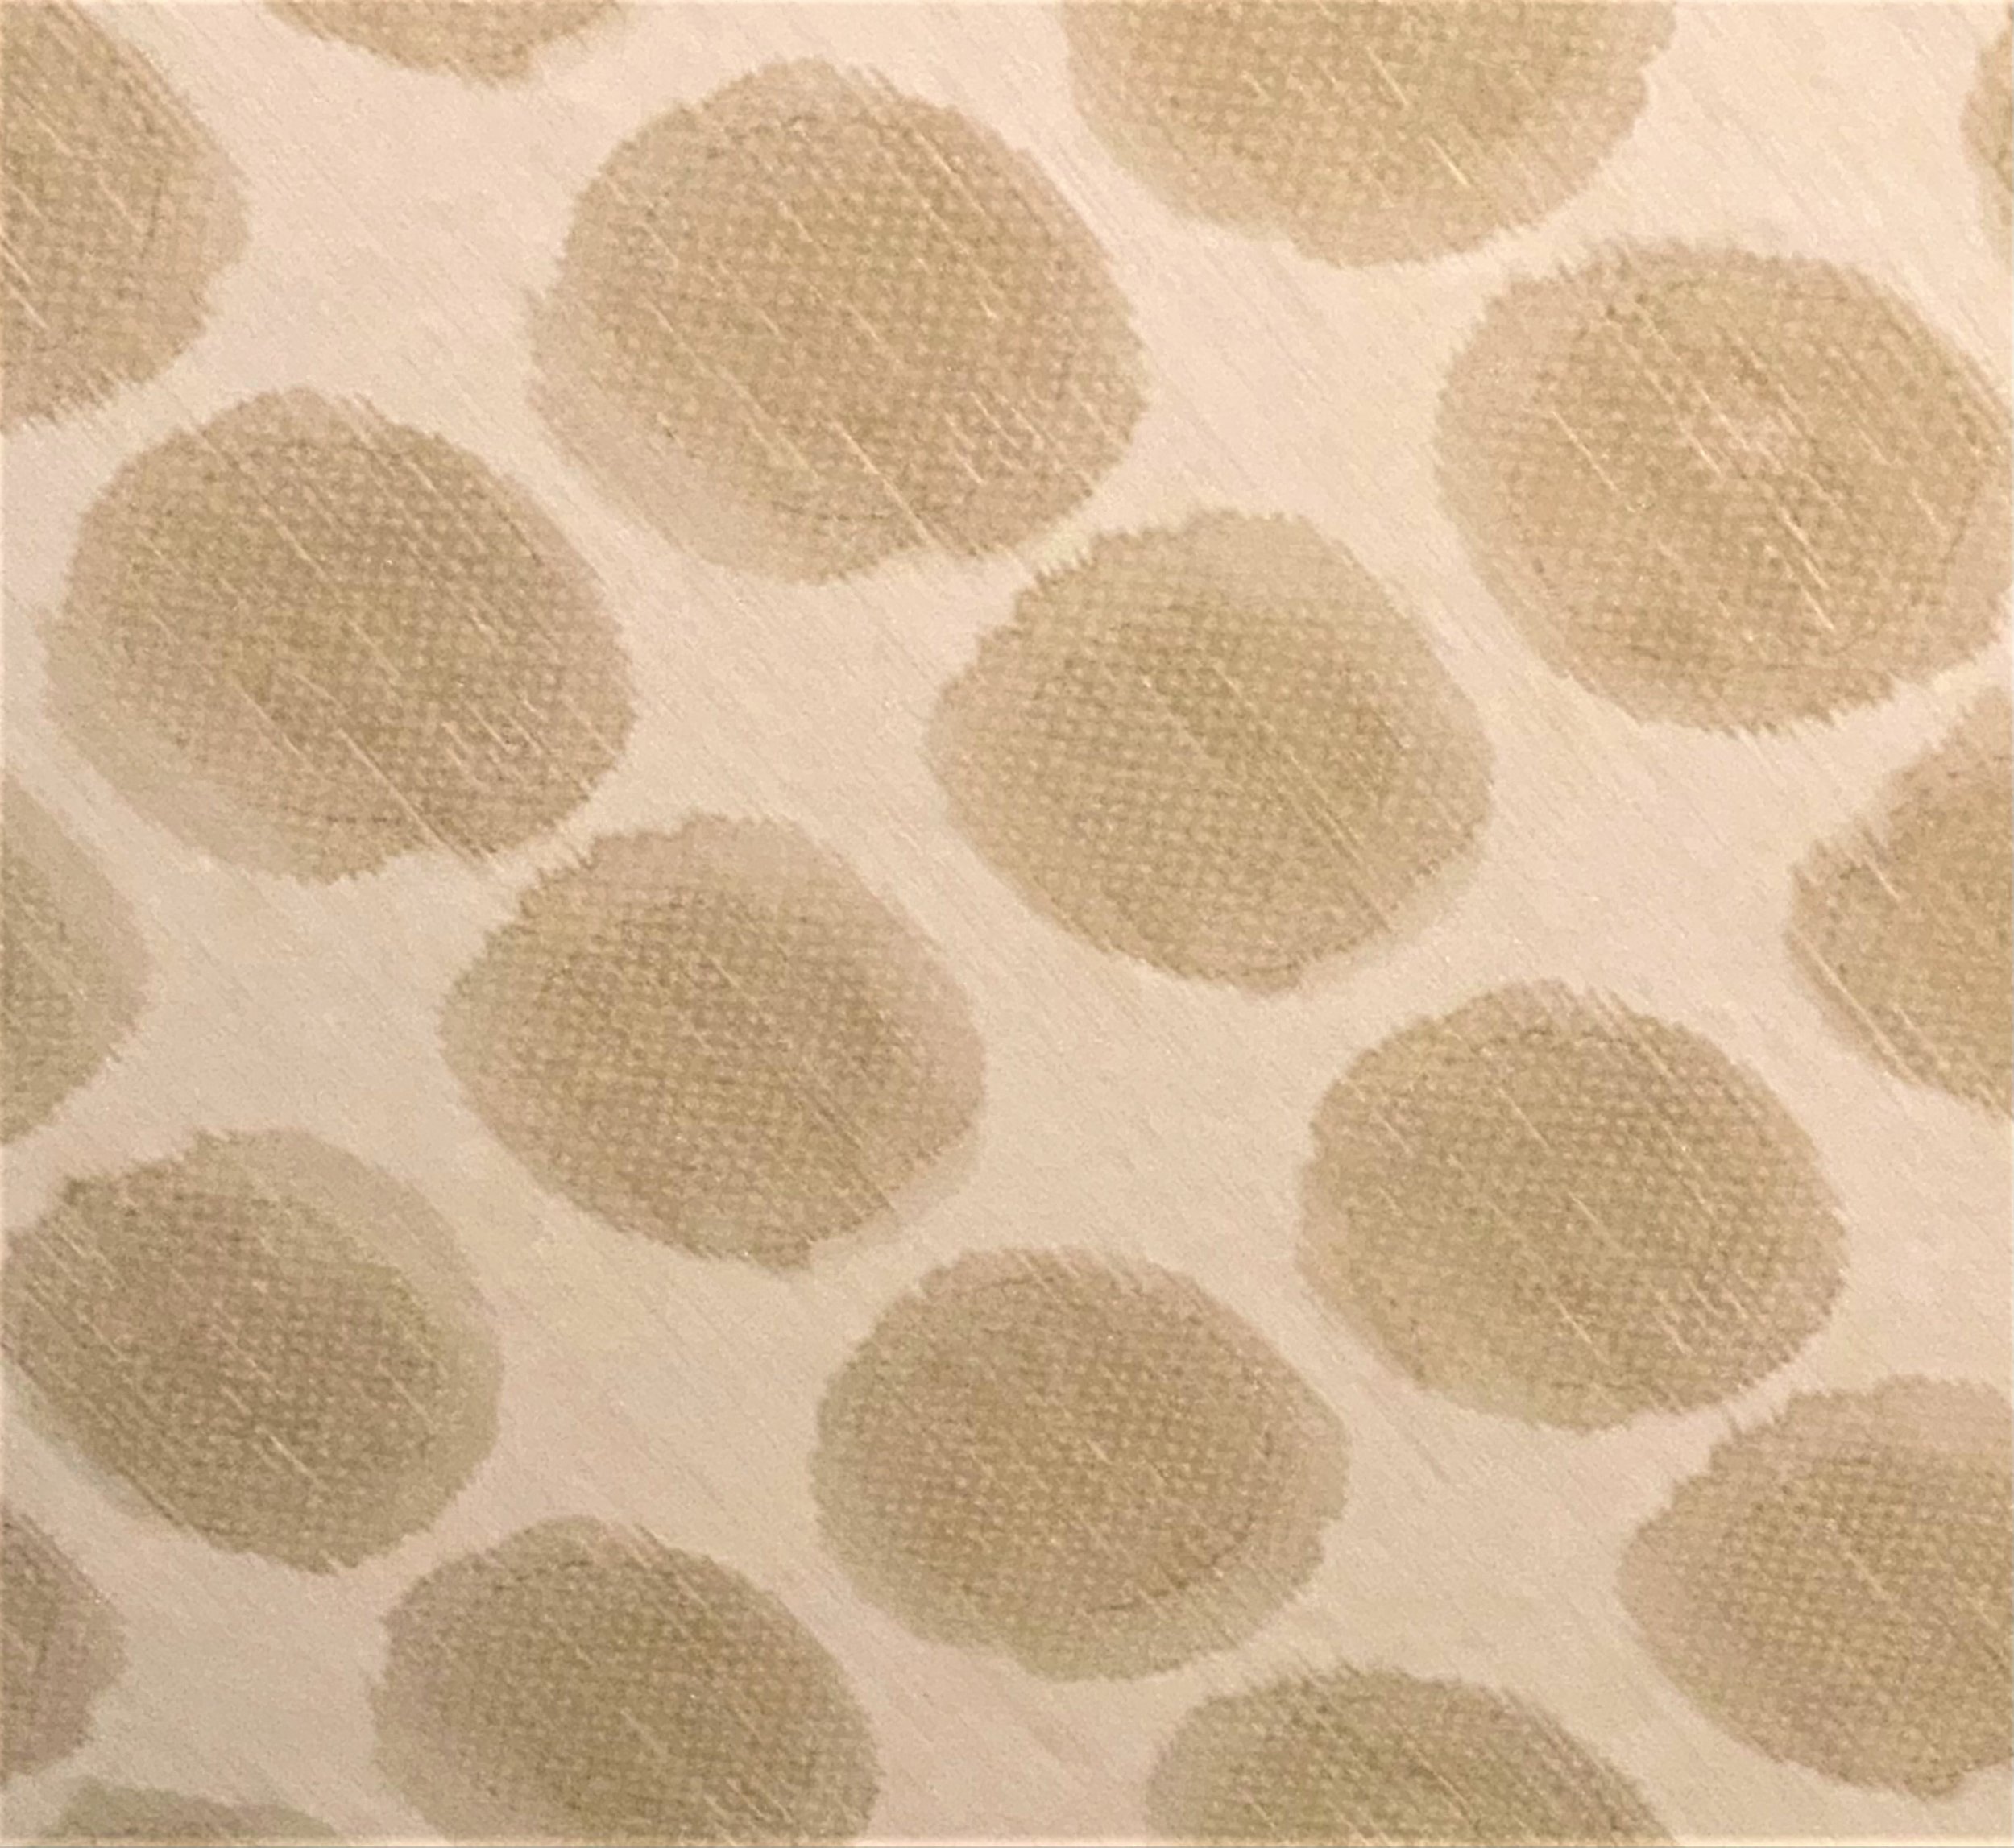
Choose a very tight pattern. This will disguise the texture showing through the paper. Again, it sort of tricks the eye into focusing on the pattern instead of the texture. A faux grasscloth or this patterned paper is what I used in my home office.
Apply to flat paint. Somewhere I read that you should apply the peel and stick to semi-gloss which is what I did in my powder room. That’s also where it’s bubbled and pulled away a tiny bit from the surface. I don’t understand this logic. It seems to me it would stick better to a flat finish. In my home office, the ceiling finish is flat and it has not bubbled anywhere that I can see. Yes, I’ll be sharing my home office makeover soon! I am currently working on window treatments and then I think it will be complete.
This is not a long term design fix. If you are someone that likes to change things up often (me!) then this option is definitely for you. If you are a person that doesn’t want to touch the décor in a room for 10 years, peel and stick is probably not something you’ll be happy with long term. Since peel and stick hasn’t gained widespread popularity since recent years, no one really knows which brand will stay the longest and how long it will stay on and look good. That is why peel and stick wallpaper is generally marketed towards renters and those than want a temporary design. I contributed to a blog post for Redfin all about temporary wallpaper. Read it here!
Do not try this is a full bathroom with steam from a shower. I think it is safe to assume that in a high moisture area, the paper will lose it’s stickiness within a short amount of time and your work may end up being pointless. This also goes for those of you that may live in a very humid climate. Where I live, it is extremely dry.